Table of Contents
Setting up DVR storage on a multi-drive WD My Cloud NAS
Users of single-disk My Cloud devices should install the appropriate package via the WD My Cloud Single-Disk install instructions.
Requirements
Before you continue, make sure you have the following:
- One or more compatible HDHomeRun device: see List of DVR compatible HDHomeRun devices
- A non-“Home” WD My Cloud NAS
Install to NAS using a PC
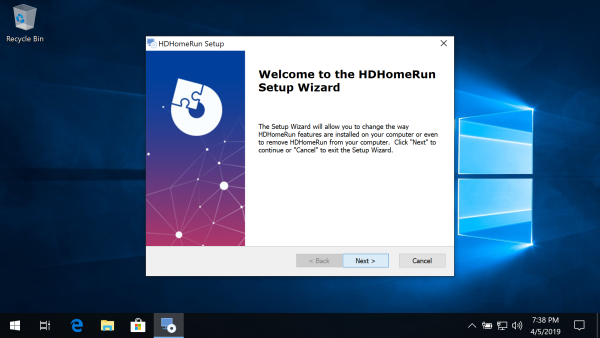
Step 1
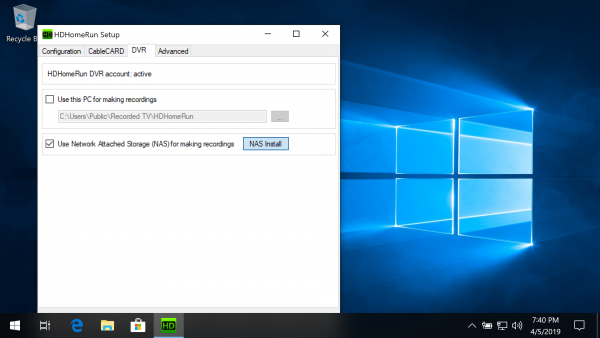
Step 2
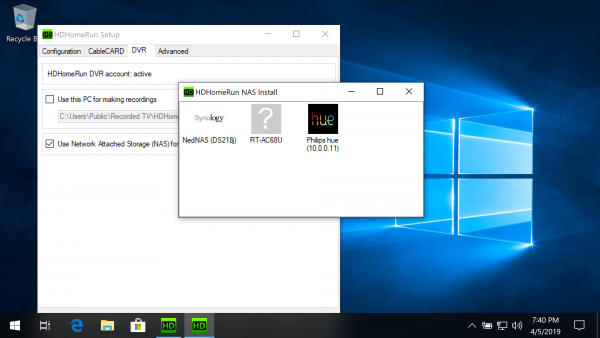
Step 3
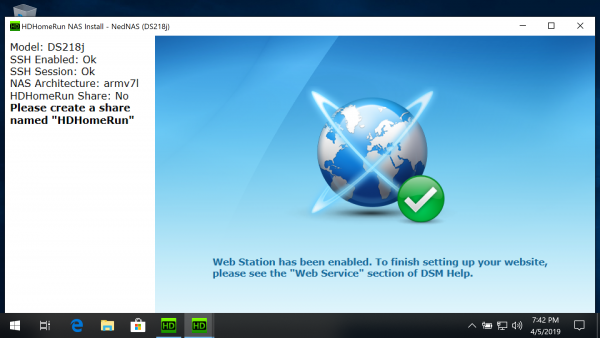
Step 4
Step 5
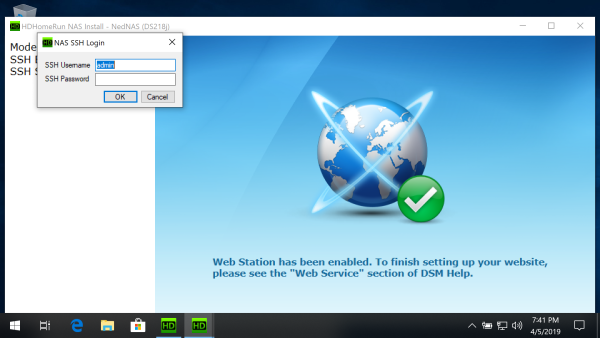
Enable SSH access and log in:
If SSH access is not enabled you will see the message “Please enable SSH access”.
Western Digital now uses “sshd” instead of “root” for the ssh username.
The install program will auto-detect when SSH has been enabled and then ask you to enter your username and password.
Manual installation
- Download the appropriate package for your specific model of NAS.
Model Stable Beta My Cloud EX2 Ultra Stable - OS 5 Beta - OS 5 My Cloud PR2100 Stable - OS 5 Beta - OS 5 My Cloud PR4100 Stable - OS 5 Beta - OS 5 My Cloud DL2100 Stable - OS 5 Beta - OS 5 My Cloud DL4100 Stable - OS 5 Beta - OS 5 My Cloud EX2 Stable - OS 3 Beta - OS 3 My Cloud EX4 Stable - OS 3 Beta - OS 3 My Cloud EX2100 Stable - OS 5 Beta - OS 5 My Cloud EX4100 Stable - OS 5 Beta - OS 5 My Cloud Mirror Stable - OS 3 Beta - OS 3 My Cloud Mirror Gen2 Stable - OS 5 Beta - OS 5 Go to the NAS webpage
This is usually available at http://wdmycloud/ or http://wdmycloud.local/. If you know the IP address of your My Cloud you can also enter that in your browser's address bar. Log in once you arrive at the page.- Install the software
- Click Apps
- Click Install an app manually
- Browse to the location where you downloaded the install package and select it
- Click Open
- And you're done. You should now be able to record using the HDHomeRun app.
Next step: Using DVR in the HDHomeRun app
Once you finish setting up a DVR storage device, see our guide link below for instructions on using the DVR features in the HDHomeRun app.
