This is an old revision of the document!
Setting up DVR storage on a single-drive WD My Cloud NAS
Users of multi-disk My Cloud devices should install the appropriate package via the WD My Cloud multiple-disk install instructions.
Requirements
Before you continue, make sure you have the following:
- One or more compatible HDHomeRun device: see List of DVR compatible HDHomeRun devices
- A non-“Home” WD My Cloud NAS
Install to NAS using a PC
Step 1
Download and install the latest HDHomeRun Windows Setup software (not the Windows 10 store App):
Be sure to download a fresh copy of the Windows Setup app, especially if you need to update an existing install.
Step 2

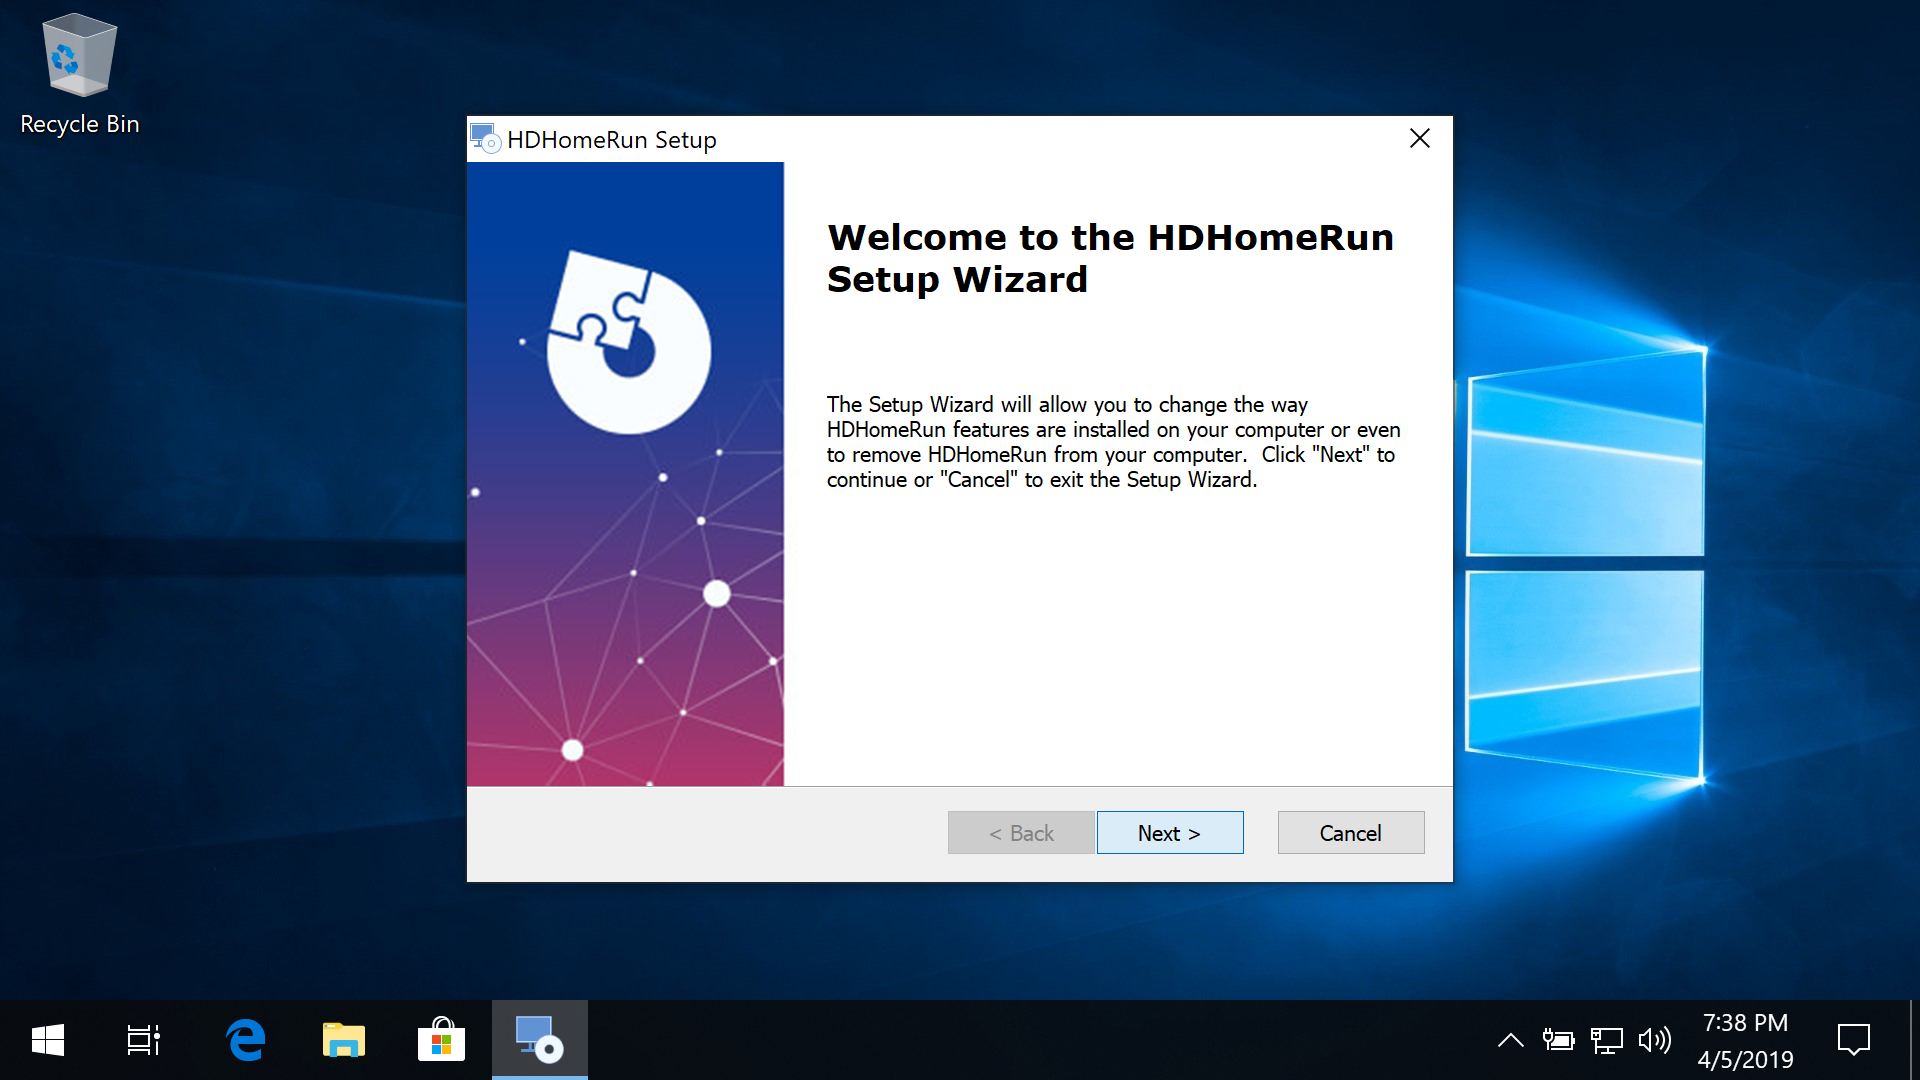
Launch the HDHomeRun NAS install program:
Run HDHomeRun Setup, go the the DVR tab, and click the NAS Install button.
Step 3
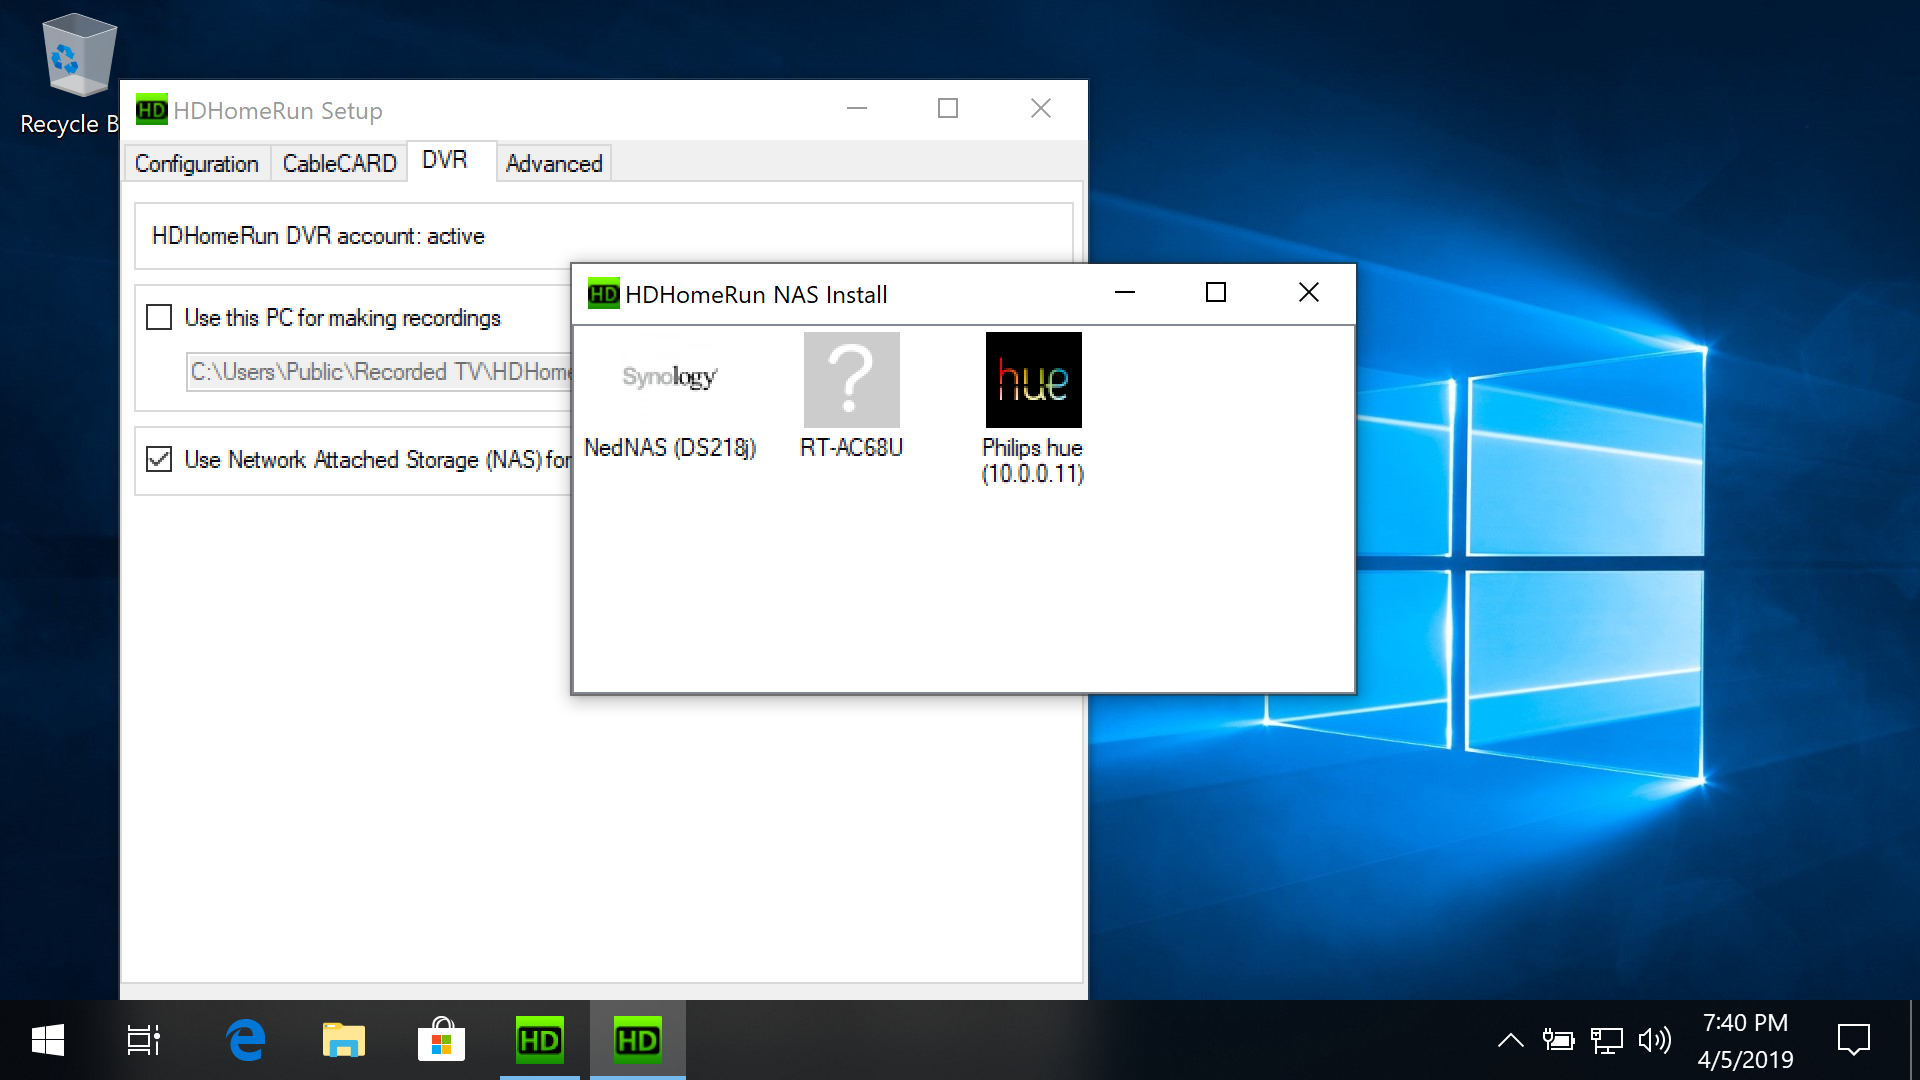
Select your NAS from detected devices:
The application will auto-detect possible NAS devices on your network using UPnP. Double click on your NAS device to continue.
Step 4
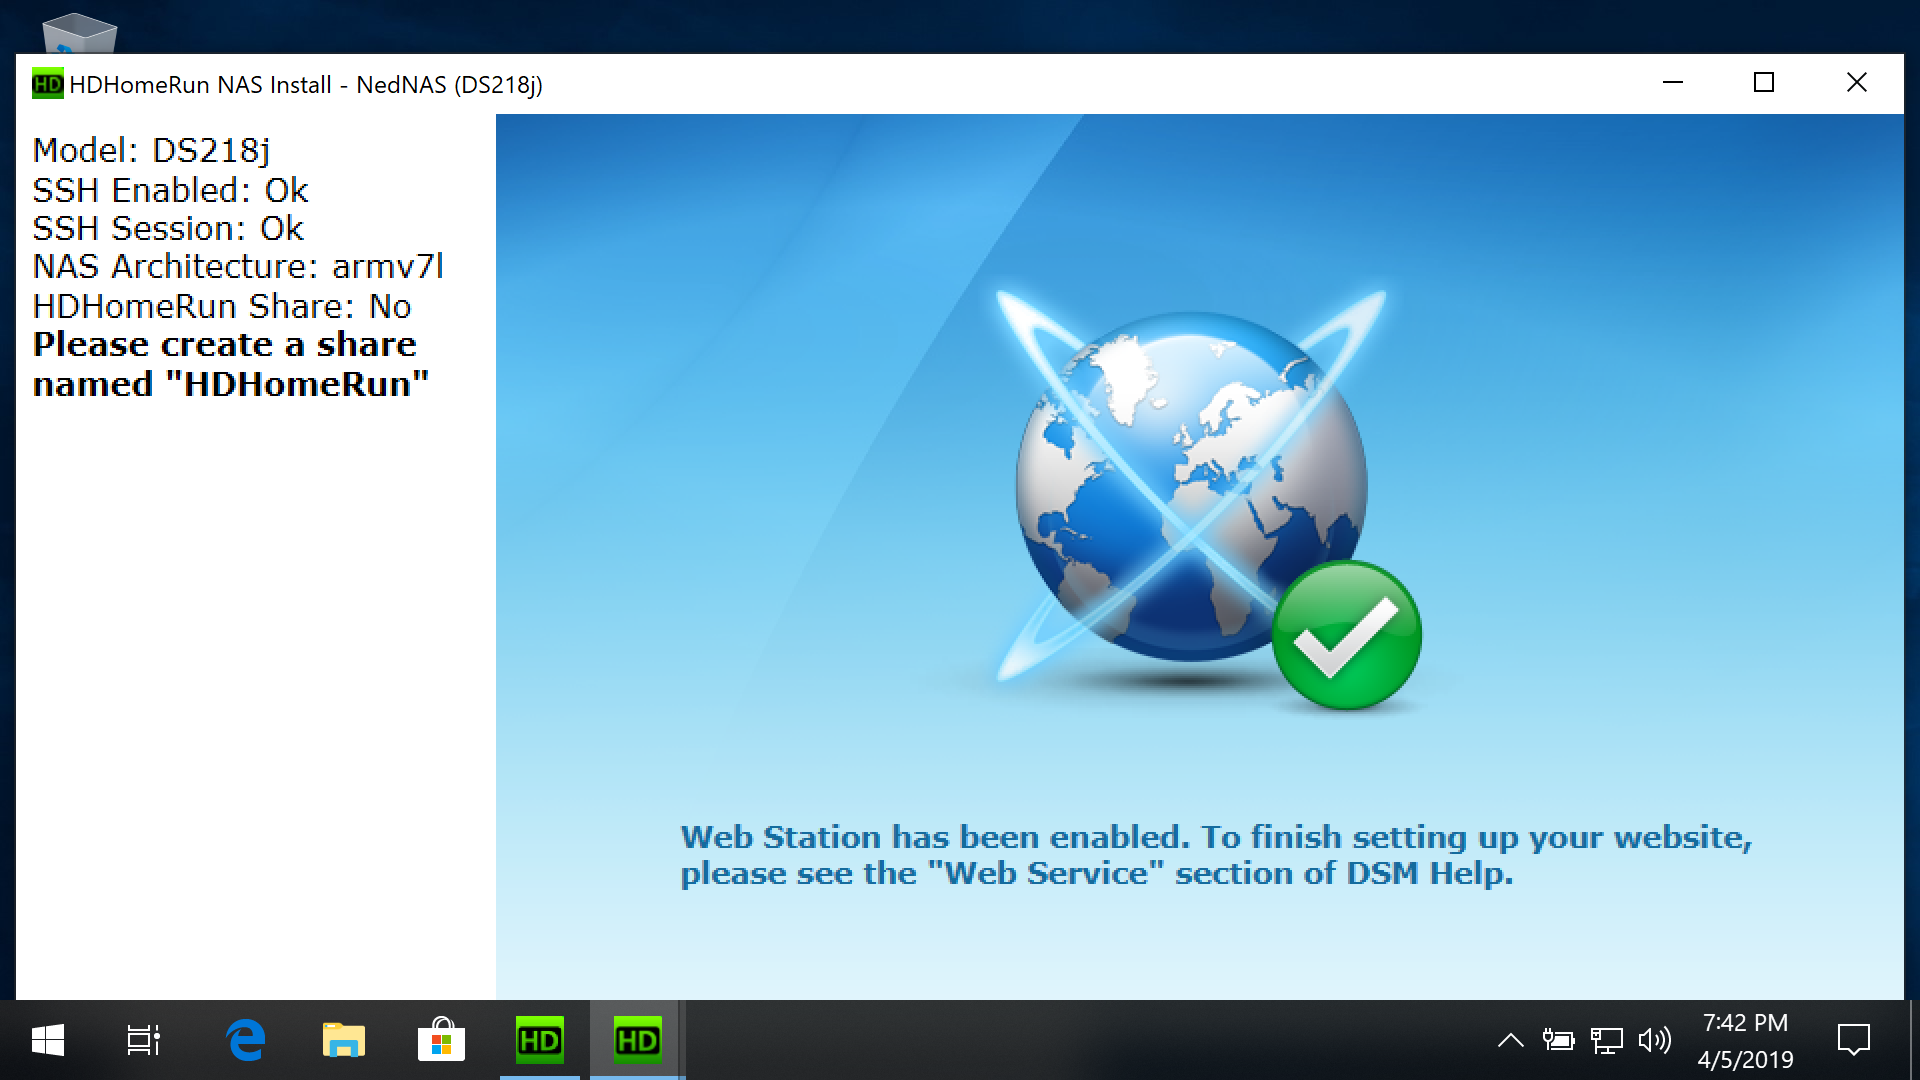
Create a share named “HDHomeRun”:
If there is not already a share named HDHomeRun you will see the message “Please create a share named HDHomeRun”.
The install program will auto-detect when the share has been created and continue to the next step.
Step 5
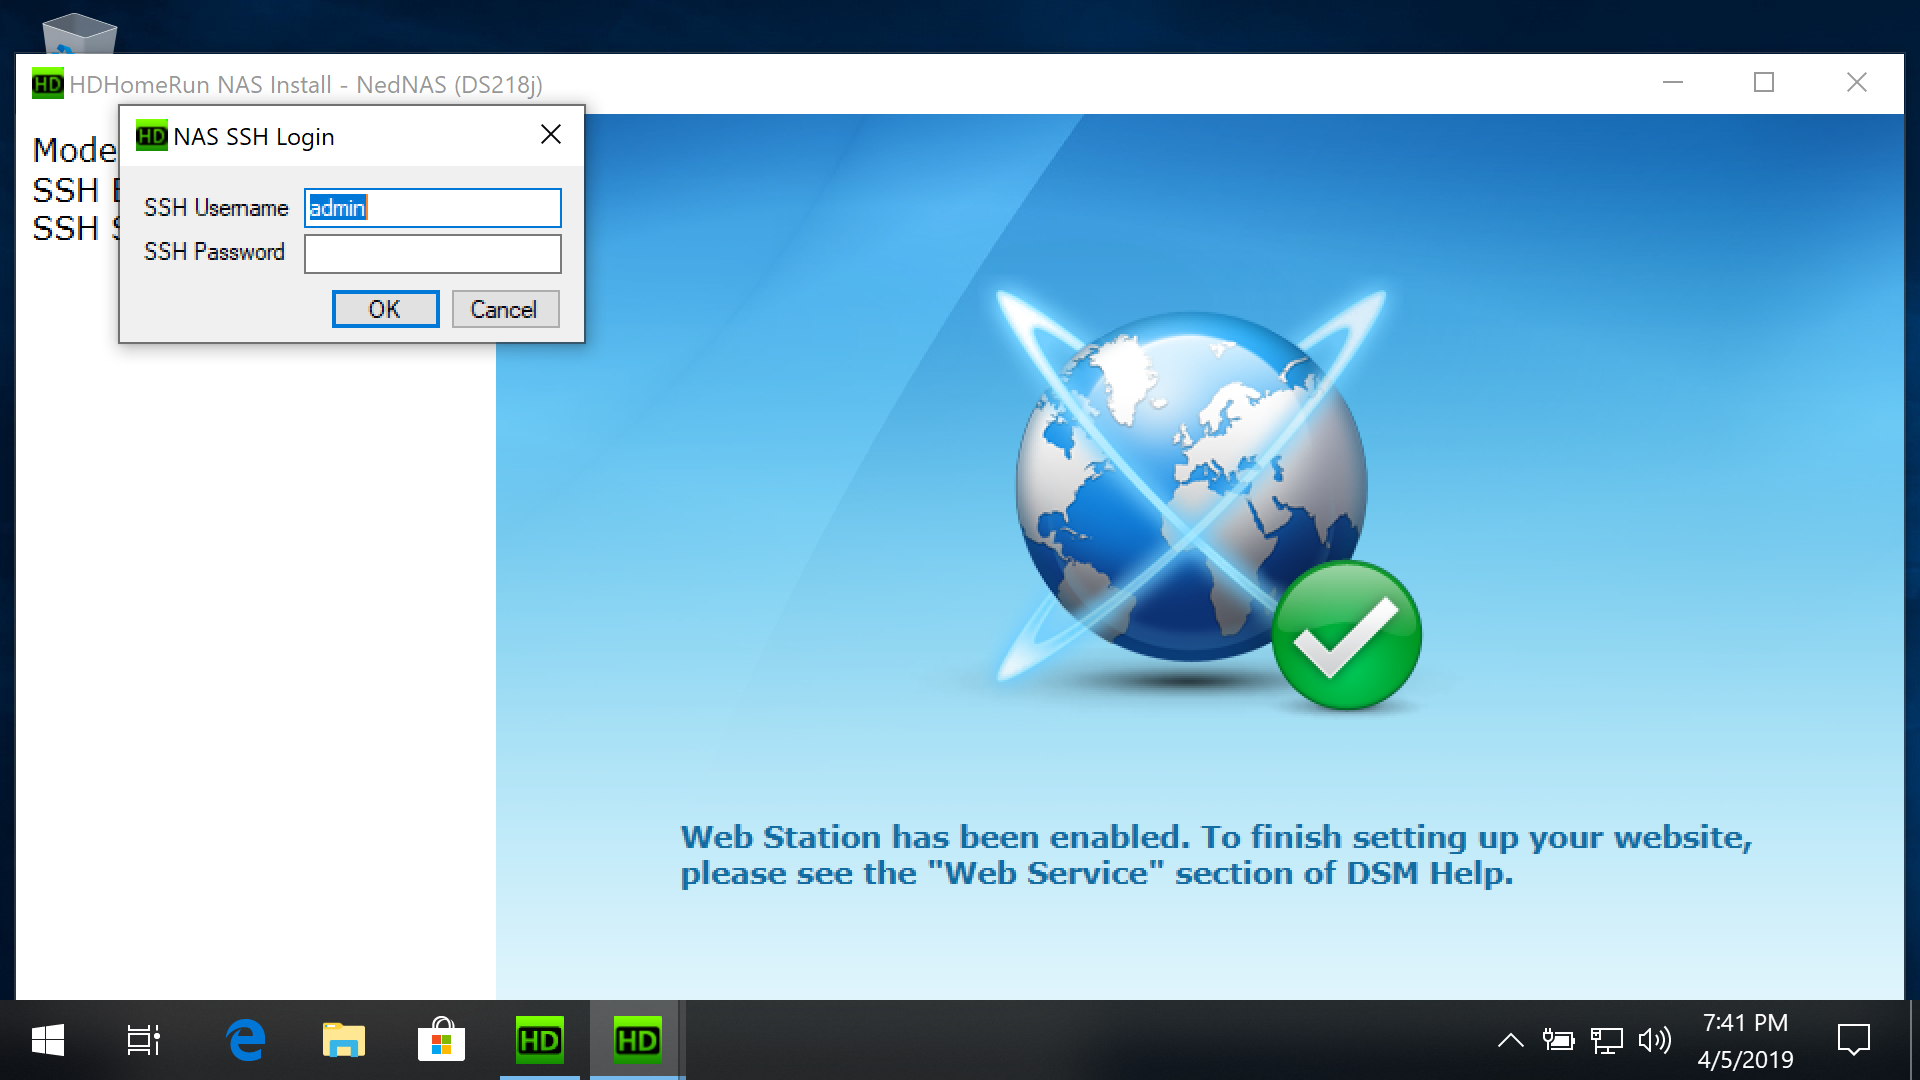
Enable SSH access and log in:
If SSH access is not enabled you will see the message “Please enable SSH access”.
The install program will auto-detect when SSH has been enabled and then ask you to enter your username and password.
Security: Some NAS products use a default username and password for SSH. If this is the case for you, the NAS should be on a home network firewalled by a home router. It may also be a good idea to disable SSH on your NAS when not using the NAS install tool.
Step 6

Success:
The NAS Install program should download and start the HDHomeRun DVR software and report SUCCESS.
Manual installation
These instructions are provided for users who cannot run the Windows install tool.
- Go to the NAS webpage. This is usually available at http://wdmycloud/ or http://wdmycloud.local/. If you know the IP address of your My Cloud you can also enter that in your browser's address bar. Log in once you arrive at the page.
- Enable SSH support. Go to the Settings page, Network, and set SSH to ON.
Security: Some NAS products use a default username and password for SSH. If this is the case for you, the NAS should be on a home network firewalled by a home router. It may also be a good idea to disable SSH on your WD My Cloud when not needed.
Open a terminal window (on Mac OS, open Terminal.app. For Windows 10 click here) and type “ssh root@wdmycloud” or “ssh root@<ip address of My Cloud>”, e.g. “ssh root@192.168.0.102”
Log in with the same password you use to access the web interface.
- Download the HDHomeRun DVR software package.
- For the latest stable release, run the following command:
wget -O /tmp/hdhomerun_dvr.apkg https://download.silicondust.com/hdhomerun/hdhomerun_record_wdc_WDMyCloud.apkg
- For the current beta version of the DVR, run the following command:
wget -O /tmp/hdhomerun_dvr.apkg https://download.silicondust.com/hdhomerun/hdhomerun_record_wdc_WDMyCloud_beta.apkg
- Install the HDHomeRun DVR software package. Run the following command:
upload_apkg -d -s 1 -p ../../../../../tmp/hdhomerun_dvr.apkg
- Start the DVR. Run the following command:
/mnt/HD/HD_a2/Nas_Prog/hdhomerun_dvr/start.sh
FAQ
- Q: If the NAS loses power or reboots will the Record Engine autostart?
- A: Yes.
- Q: Do I need to create a Share Folder titled HDHomeRun? Where are recordings saved?
- A: No, you do not. If you're setting up a brand new My Cloud, recordings will be saved to Public\HDHomeRun. If you already have an HDHomeRun folder in the ROOT of the NAS, the Record Engine will continue to use the existing folder.
- Q: How do I uninstall this?
- A: SSH in (see step 3 above) and run:
del_apkg hdhomerun_dvr
Next step: Using DVR in the HDHomeRun app
Once you finish setting up a DVR storage device, see our guide link below for instructions on using the DVR features in the HDHomeRun app.