This is an old revision of the document!
Installing the DVR storage software to a NAS using a Windows PC
NAS Requirements
- x86 or ARM based CPU
- 256MB RAM minimum
- Must be running Linux
- Must support SSH access
Before you Get Started
You need to activate your DVR software, if you haven't already done so. Visit the Shop. Purchase the DVR Activation. When you get your receipt, it will include a link to activate your DVR. Click that link. You do not need to activate more than once per household. If you need to re-activate, search your email for “Your SiliconDust SHOP order receipt” which will include any necessary links and codes.
Your subscription is linked to your HDHomeRun hardware. The DVR software will automatically detect your subscription from the HDHomeRun hardware, and won't require any kind of log-in. If you change your HDHomeRun hardware by adding or replacing additional devices, please run your activation link again to make sure that your subscription keeps working.
Installing to a NAS from a Windows PC
Download and install the latest HDHomeRun Windows software (not the App):
http://download.silicondust.com/hdhomerun/hdhomerun_windows.exe

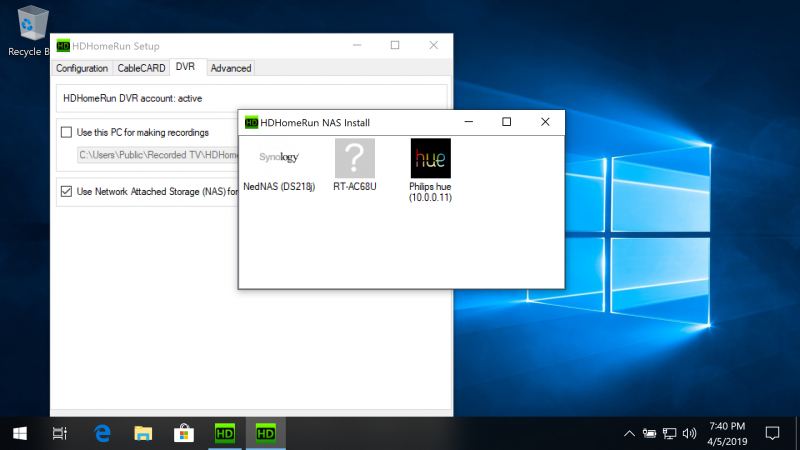
Launch the HDHomeRun NAS install program:
Run HDHomeRun Setup, go the the DVR tab, and click the NAS Install button.


Select your NAS from detected devices:
The application will auto-detect possible NAS devices on your network using UPnP. Double click on your NAS device to open.
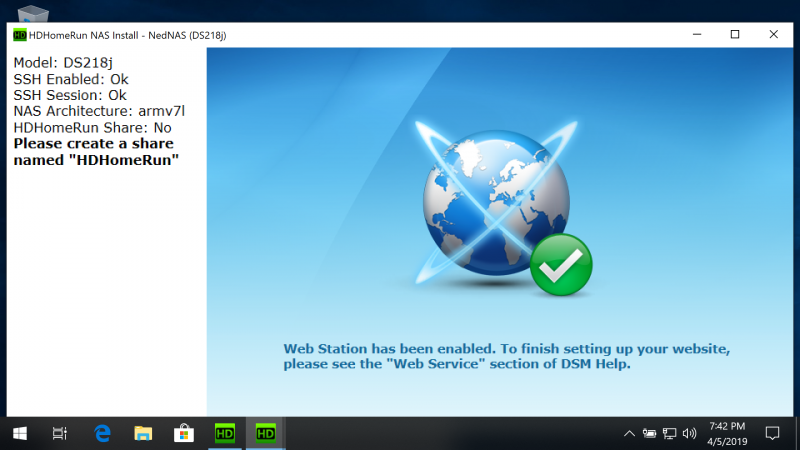
Create a share named “HDHomeRun”:
If there is not already a share named HDHomeRun you will see the message “Please create a share named HDHomeRun”.
The install program will auto-detect when the share has been created and continue to the next step.
Enable SSH access:
If SSH access is not enabled you will see the message “Please enable SSH access”.
The install program will auto-detect when SSH has been enabled and continue to the next step.
Security: Some NAS products use a default username and password for SSH. If this is the case for you, the NAS should be on a home network firewalled by a home router. It may also be a good idea to disable SSH on your NAS when not using the NAS install tool.
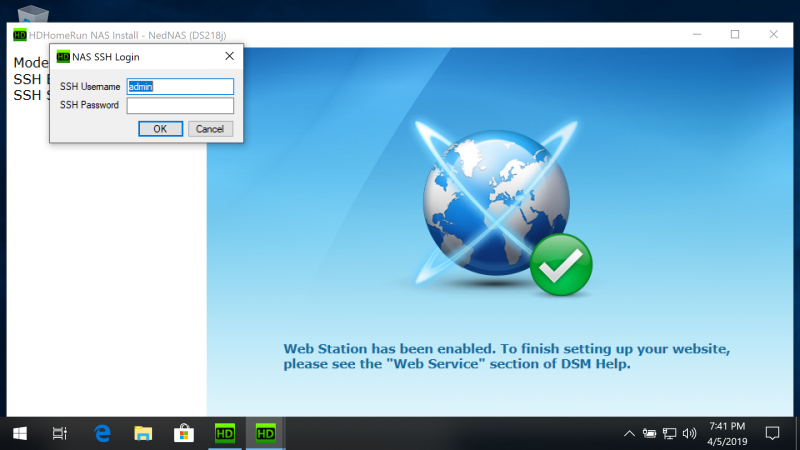
SSH login:
If prompted for the NAS SSH Login please enter the username and password for SSH access.
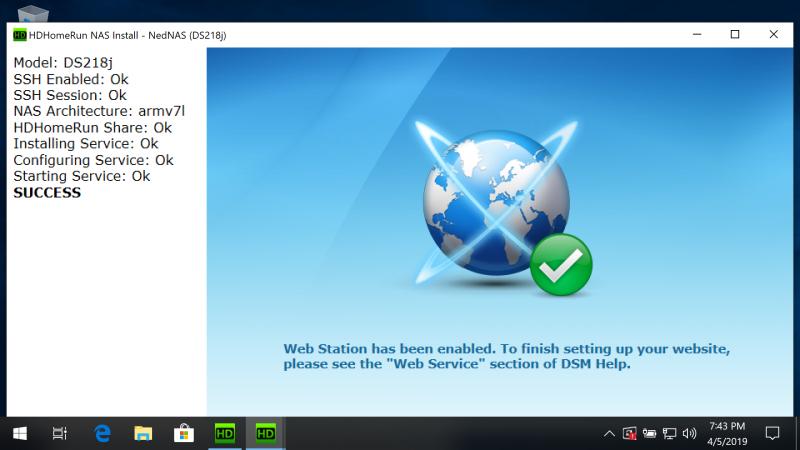
Success:
The NAS Install program should download and start the HDHomeRun RECORD engine and report SUCCESS.


Note: The current release of the NAS Install program will enable auto-start on WD MyCloud devices. On other NAS devices, the DVR software will not automatically start. If you reboot or power cycle the NAS you will need to run the NAS Install program again to start the HDHomeRun RECORD engine.
Using DVR
Now that everything is set up, see our page using_the_app for instructions on the DVR features.