This is an old revision of the document!
Installing the DVR storage software to a NAS using a Windows PC
Requirements
Before you continue, make sure you have the following:
- One or more compatible HDHomeRun device: see List of DVR compatible HDHomeRun devices
NAS requirements
Make sure your NAS meets the following requirements
- x86 or ARM based CPU
- 256MB RAM minimum
- Must be running a maintained Linux kernel
- Must support SSH access
Installing to a NAS from a Windows PC
Step 1
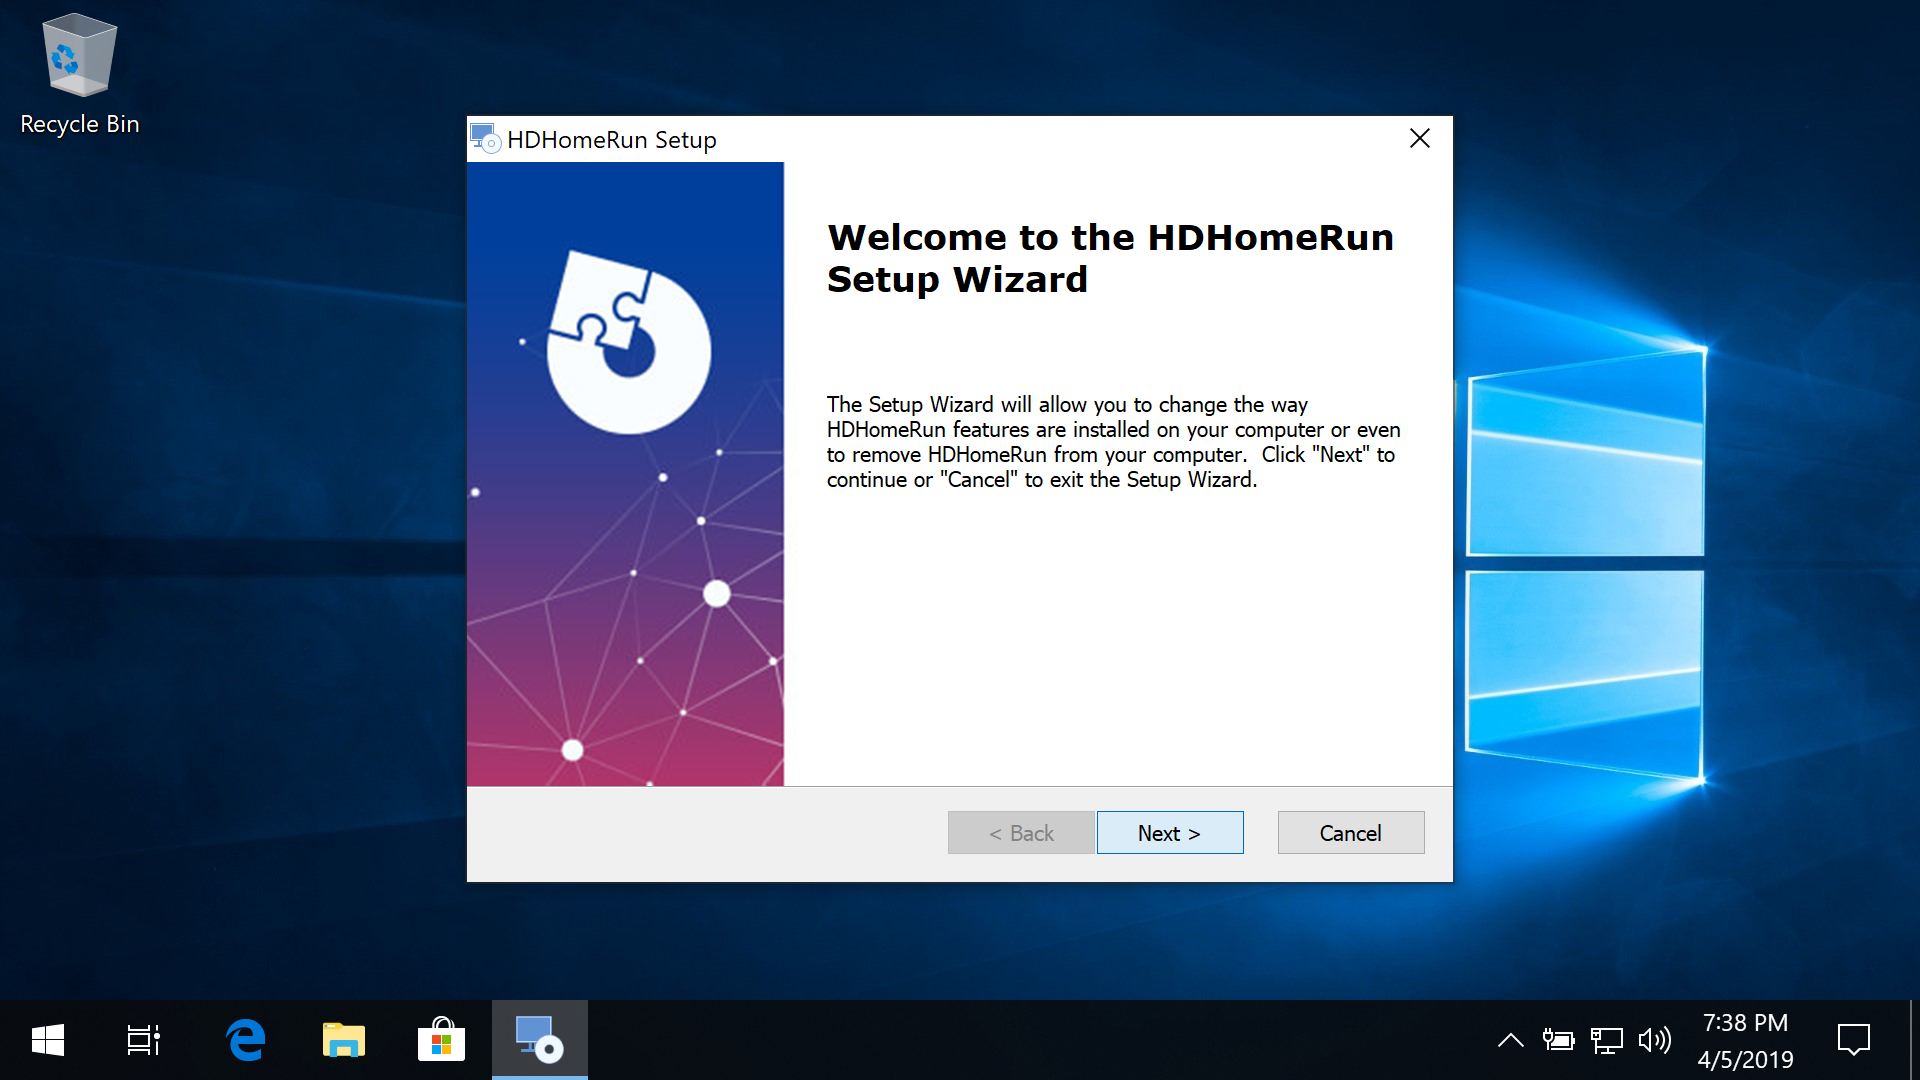
Download and install the latest HDHomeRun Windows Setup software (not the Windows 10 store App):
http://download.silicondust.com/hdhomerun/hdhomerun_windows.exe
Be sure to download a fresh copy of the Windows Setup app, especially if you need to update an existing install.
Step 2

Launch the HDHomeRun NAS install program:
Run HDHomeRun Setup, go the the DVR tab, and click the NAS Install button.
Step 3
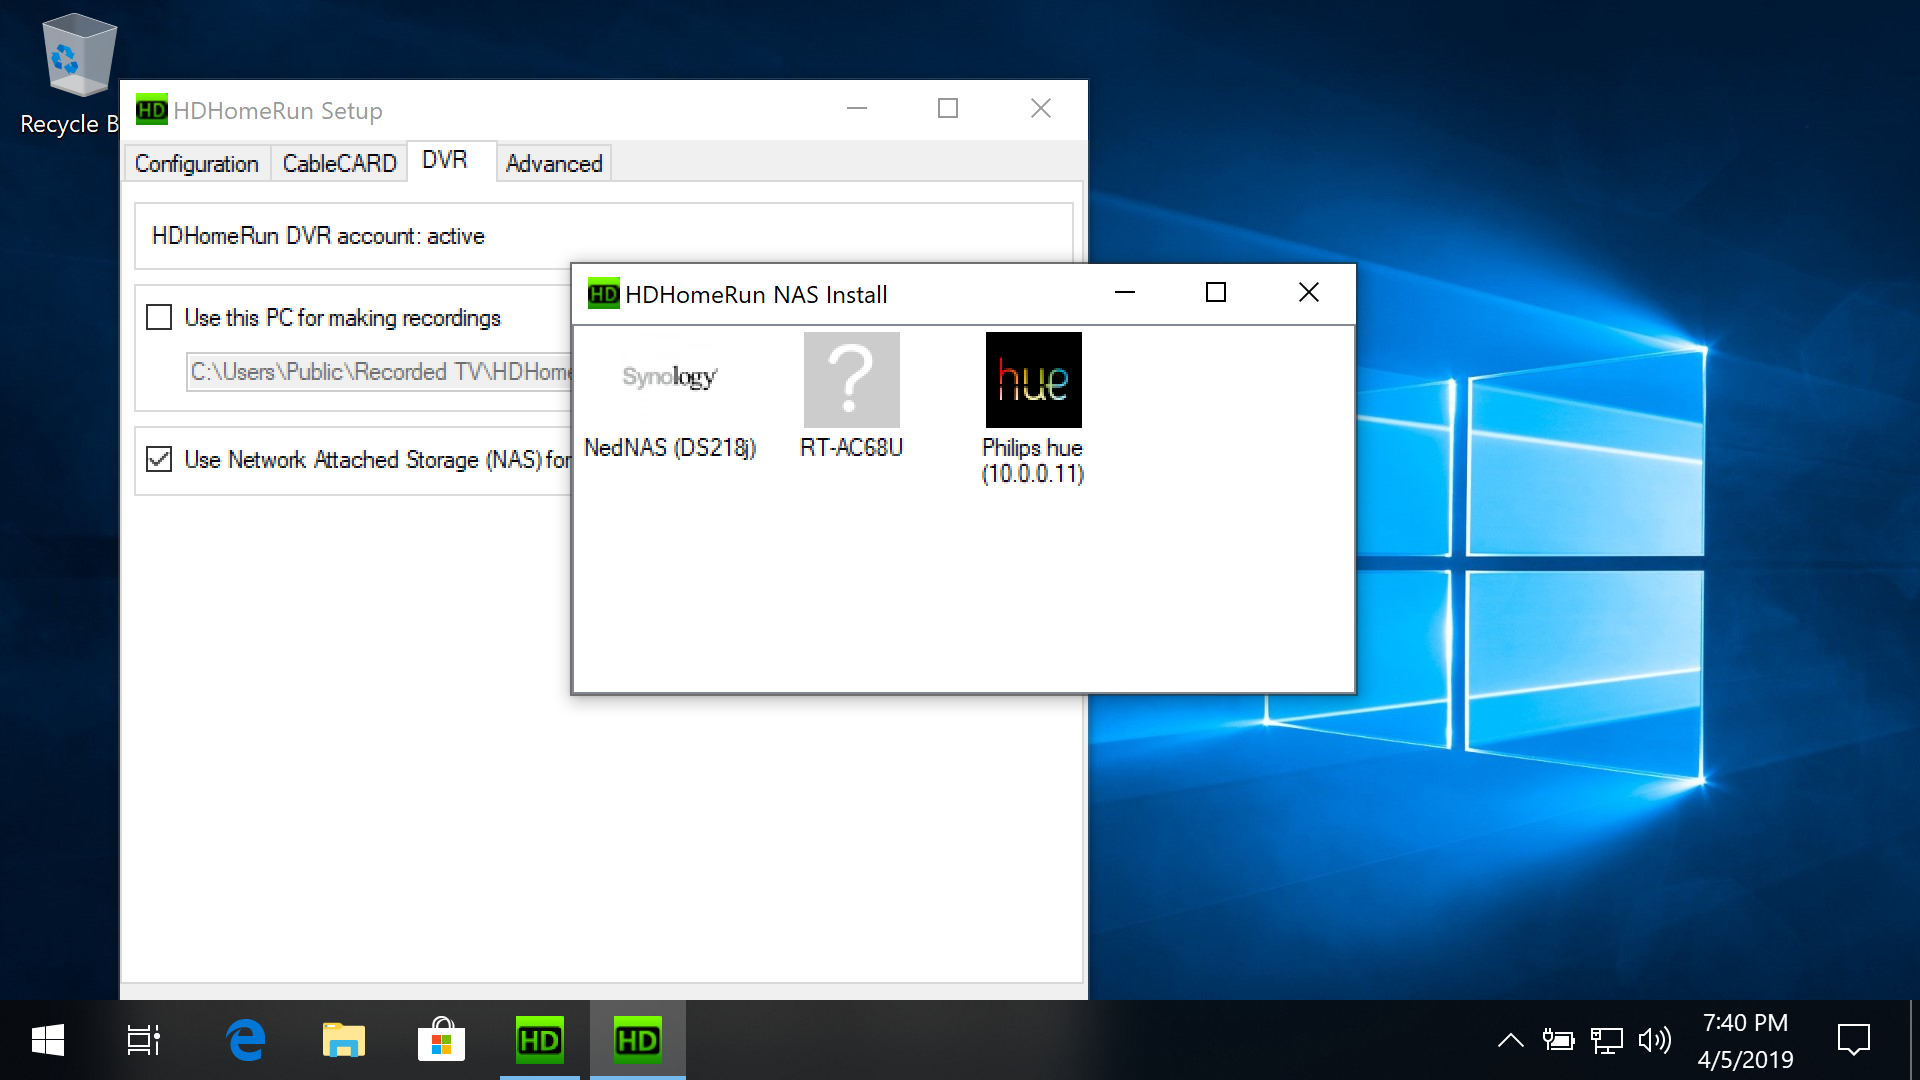
Select your NAS from detected devices:
The application will auto-detect possible NAS devices on your network using UPnP. Double click on your NAS device to continue.
Step 4
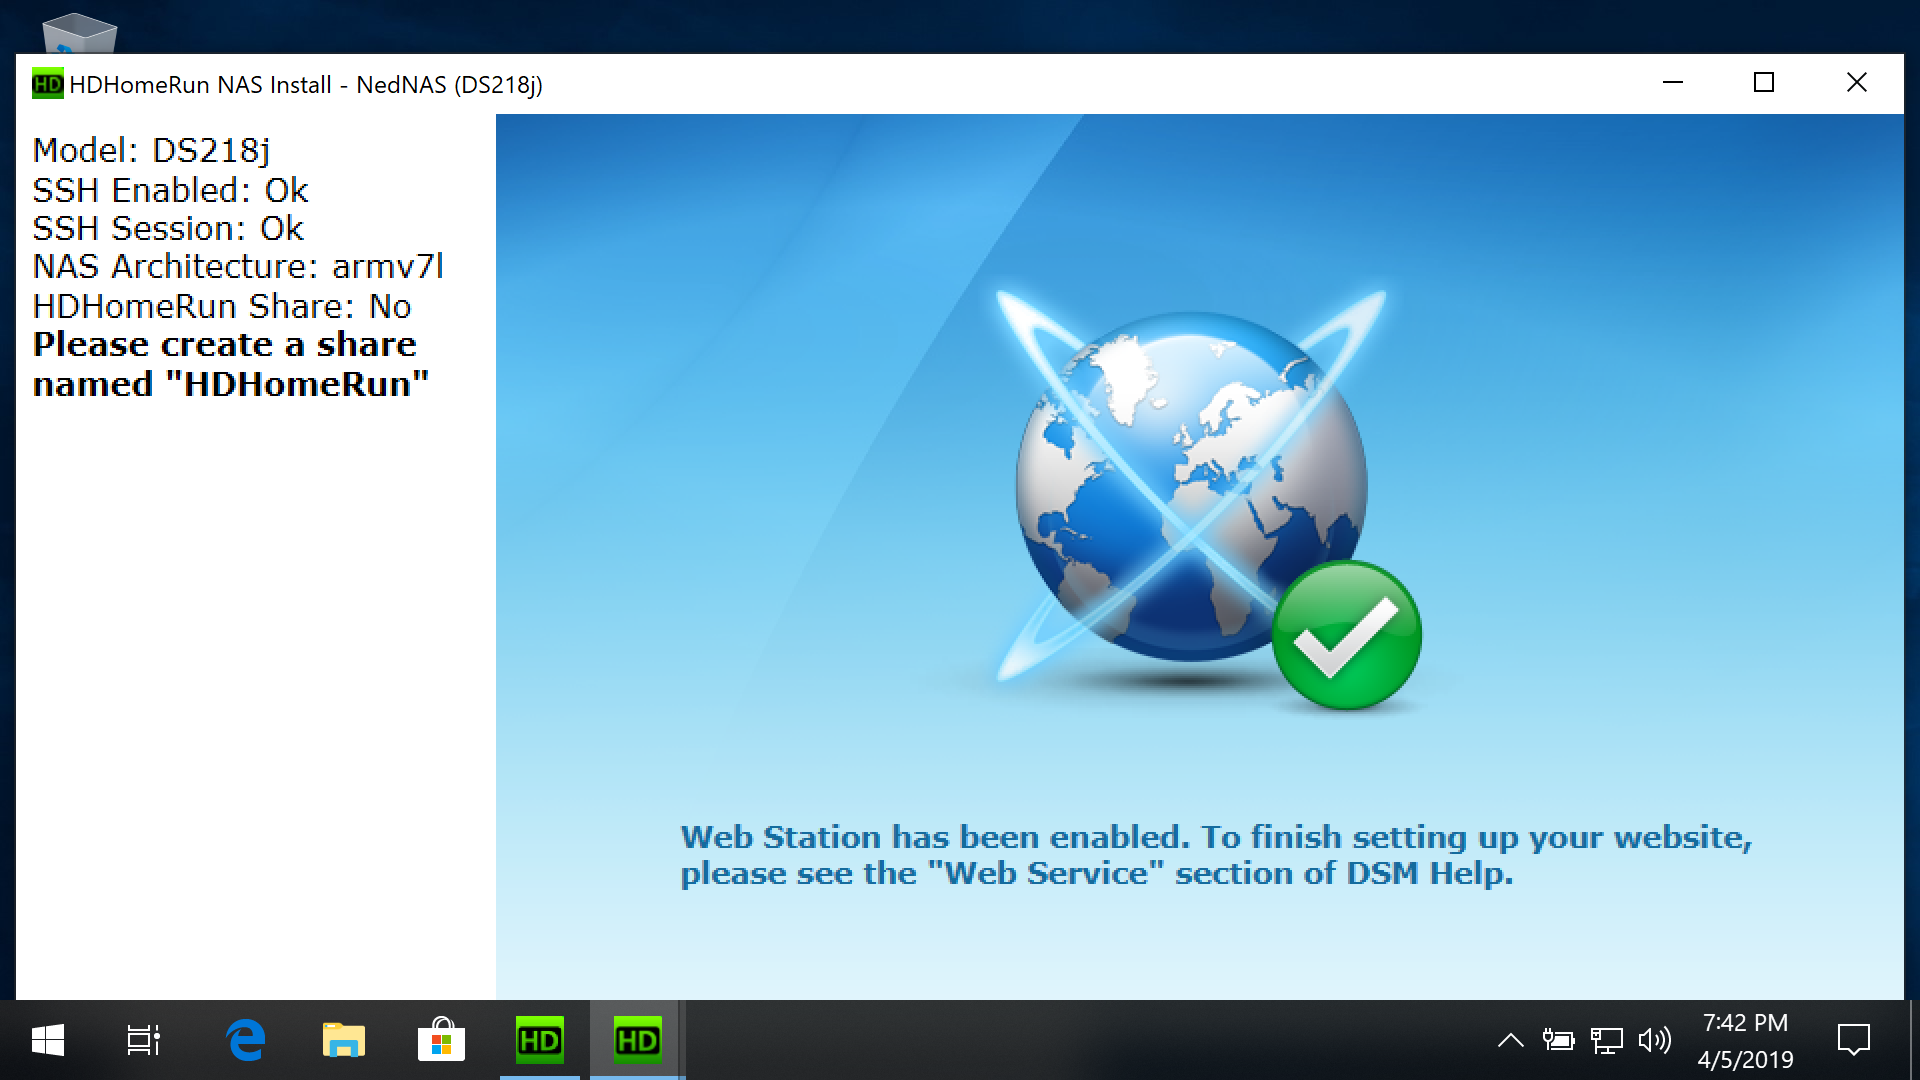
Create a share named “HDHomeRun”:
If there is not already a share named HDHomeRun you will see the message “Please create a share named HDHomeRun”.
The install program will auto-detect when the share has been created and continue to the next step.
Step 5
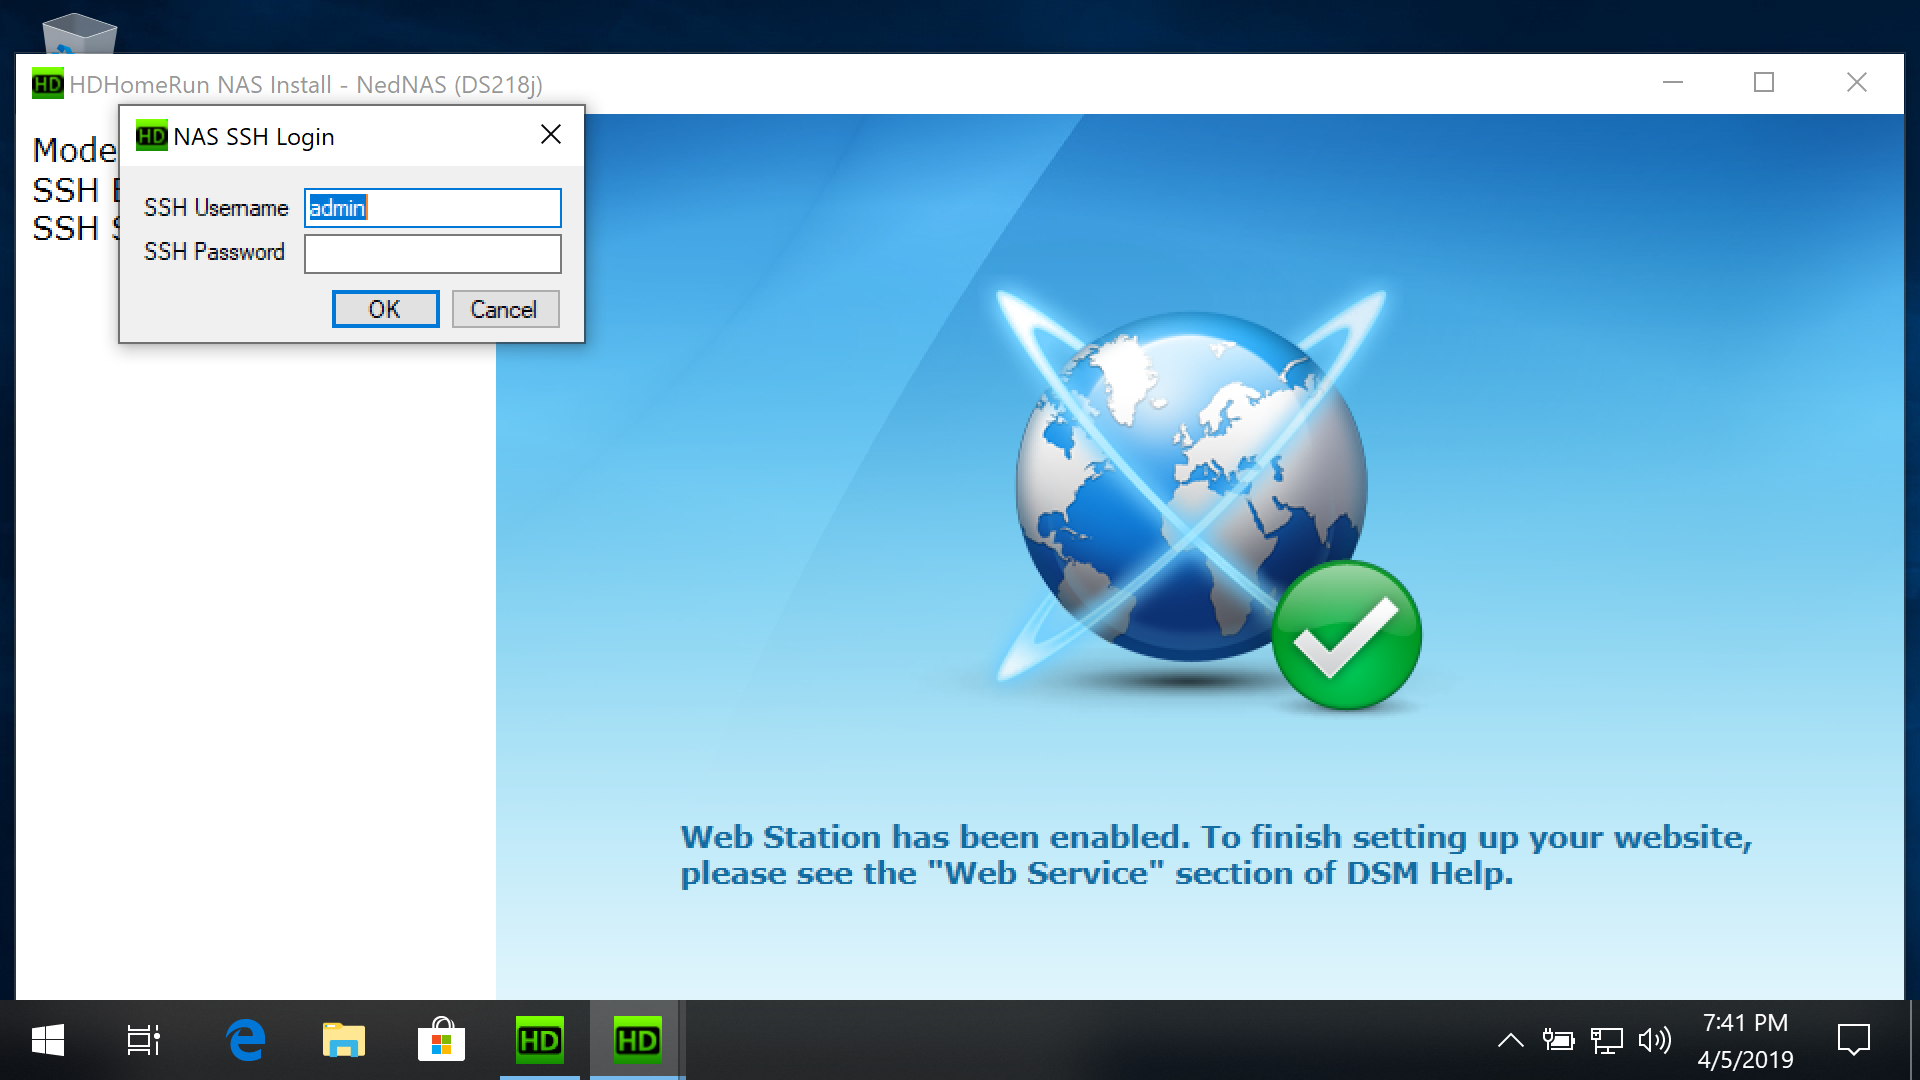
Enable SSH access and log in:
If SSH access is not enabled you will see the message “Please enable SSH access”.
The install program will auto-detect when SSH has been enabled and then ask you to enter your username and password.
Security: Some NAS products use a default username and password for SSH. If this is the case for you, the NAS should be on a home network firewalled by a home router. It may also be a good idea to disable SSH on your NAS when not using the NAS install tool.
Step 6

Success:
The NAS Install program should download and start the HDHomeRun DVR software and report SUCCESS.
Note: The current release of the NAS Install program will enable auto-start on WD MyCloud devices. This means that you don't have to manually start the HDHomeRun DVR software every time the NAS reboots or looses power.
Next step: Using DVR in the HDHomeRun app
Once you finish setting up a DVR storage device, see our guide link below for instructions on using the DVR features in the HDHomeRun app.