This is an old revision of the document!
Setting up DVR storage on a Synology NAS
Requirements
Before you continue, make sure you have the following:
- One or more compatible HDHomeRun device: see List of DVR compatible HDHomeRun devices
Install to NAS using a Windows PC
If you have a Windows PC, you can use our HDHomeRun setup application to install the DVR storage software to your NAS device.
Before running the NAS installer, you'll need to create an HDHomeRun file share and enable SSH:
1. Create an HDHomeRun file share
Step 1

In a web browser, log-in to your Synology NAS.
- Open the Control Panel
- Open Shared Folder
- Click on the Create button
Step 2
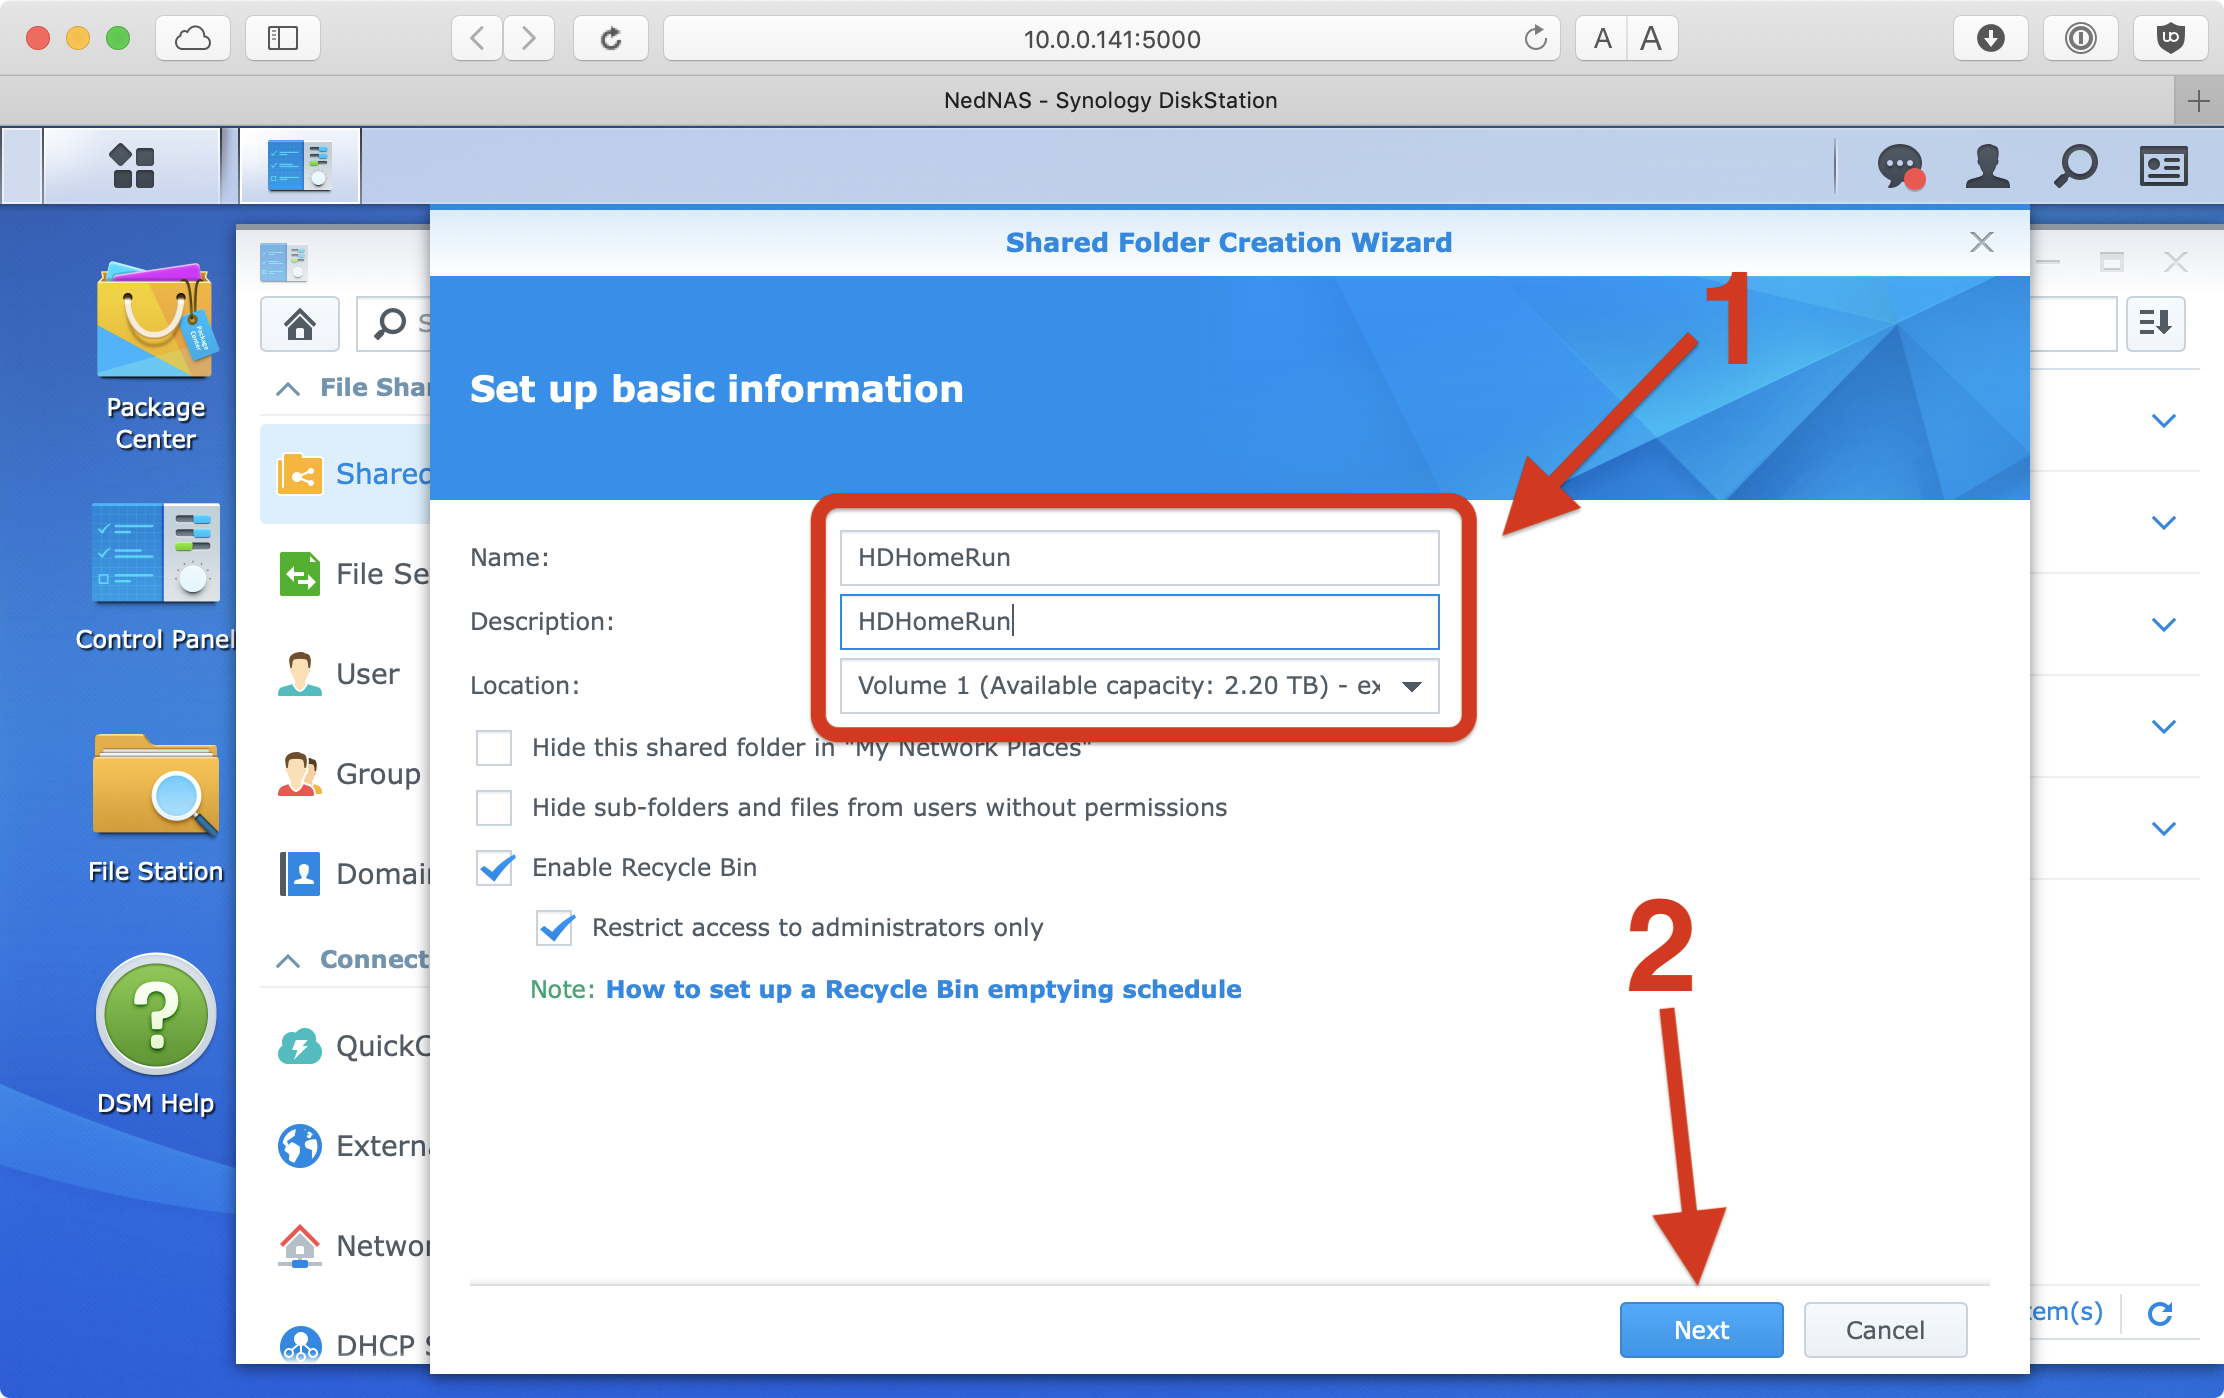
- Fill out the name as
HDHomeRun
and select the drive you want to use on your NAS, if you have more than one drive volume available.
- Click Next
Step 3

Click through the next three windows. No additional changes are needed.
- Click Next
- Click OK
- Click Apply
Close any windows that remain open and go to the next step.
2. Enable SSH
Step 4
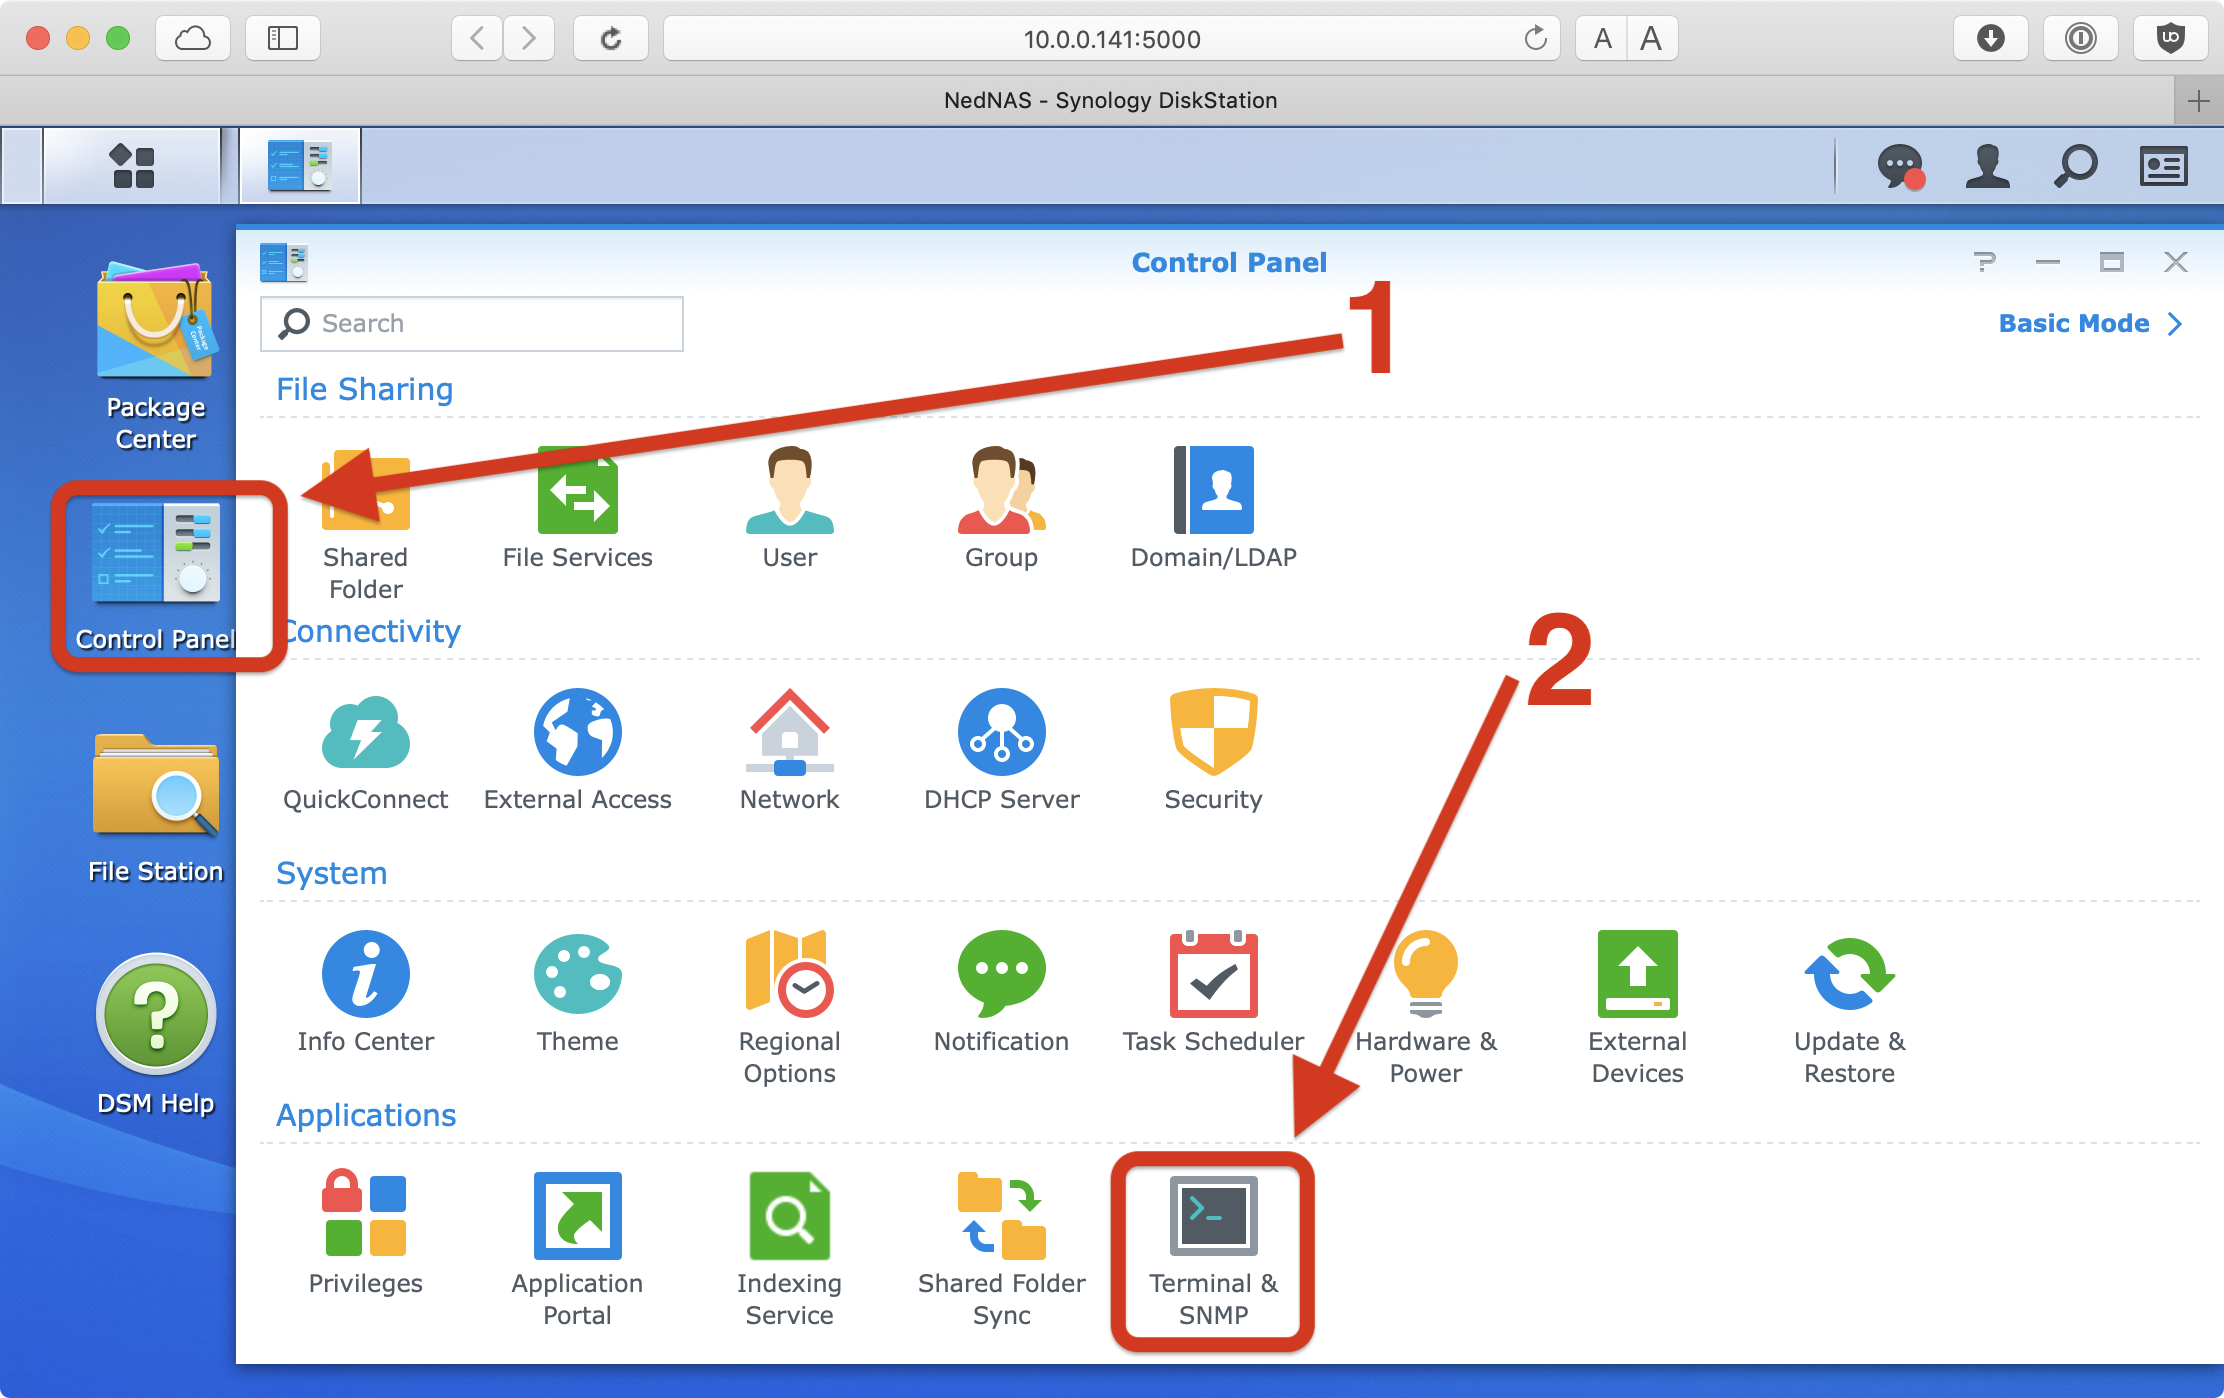
- the Control Panel again
- Click on Terminal & SNMP
Step 5
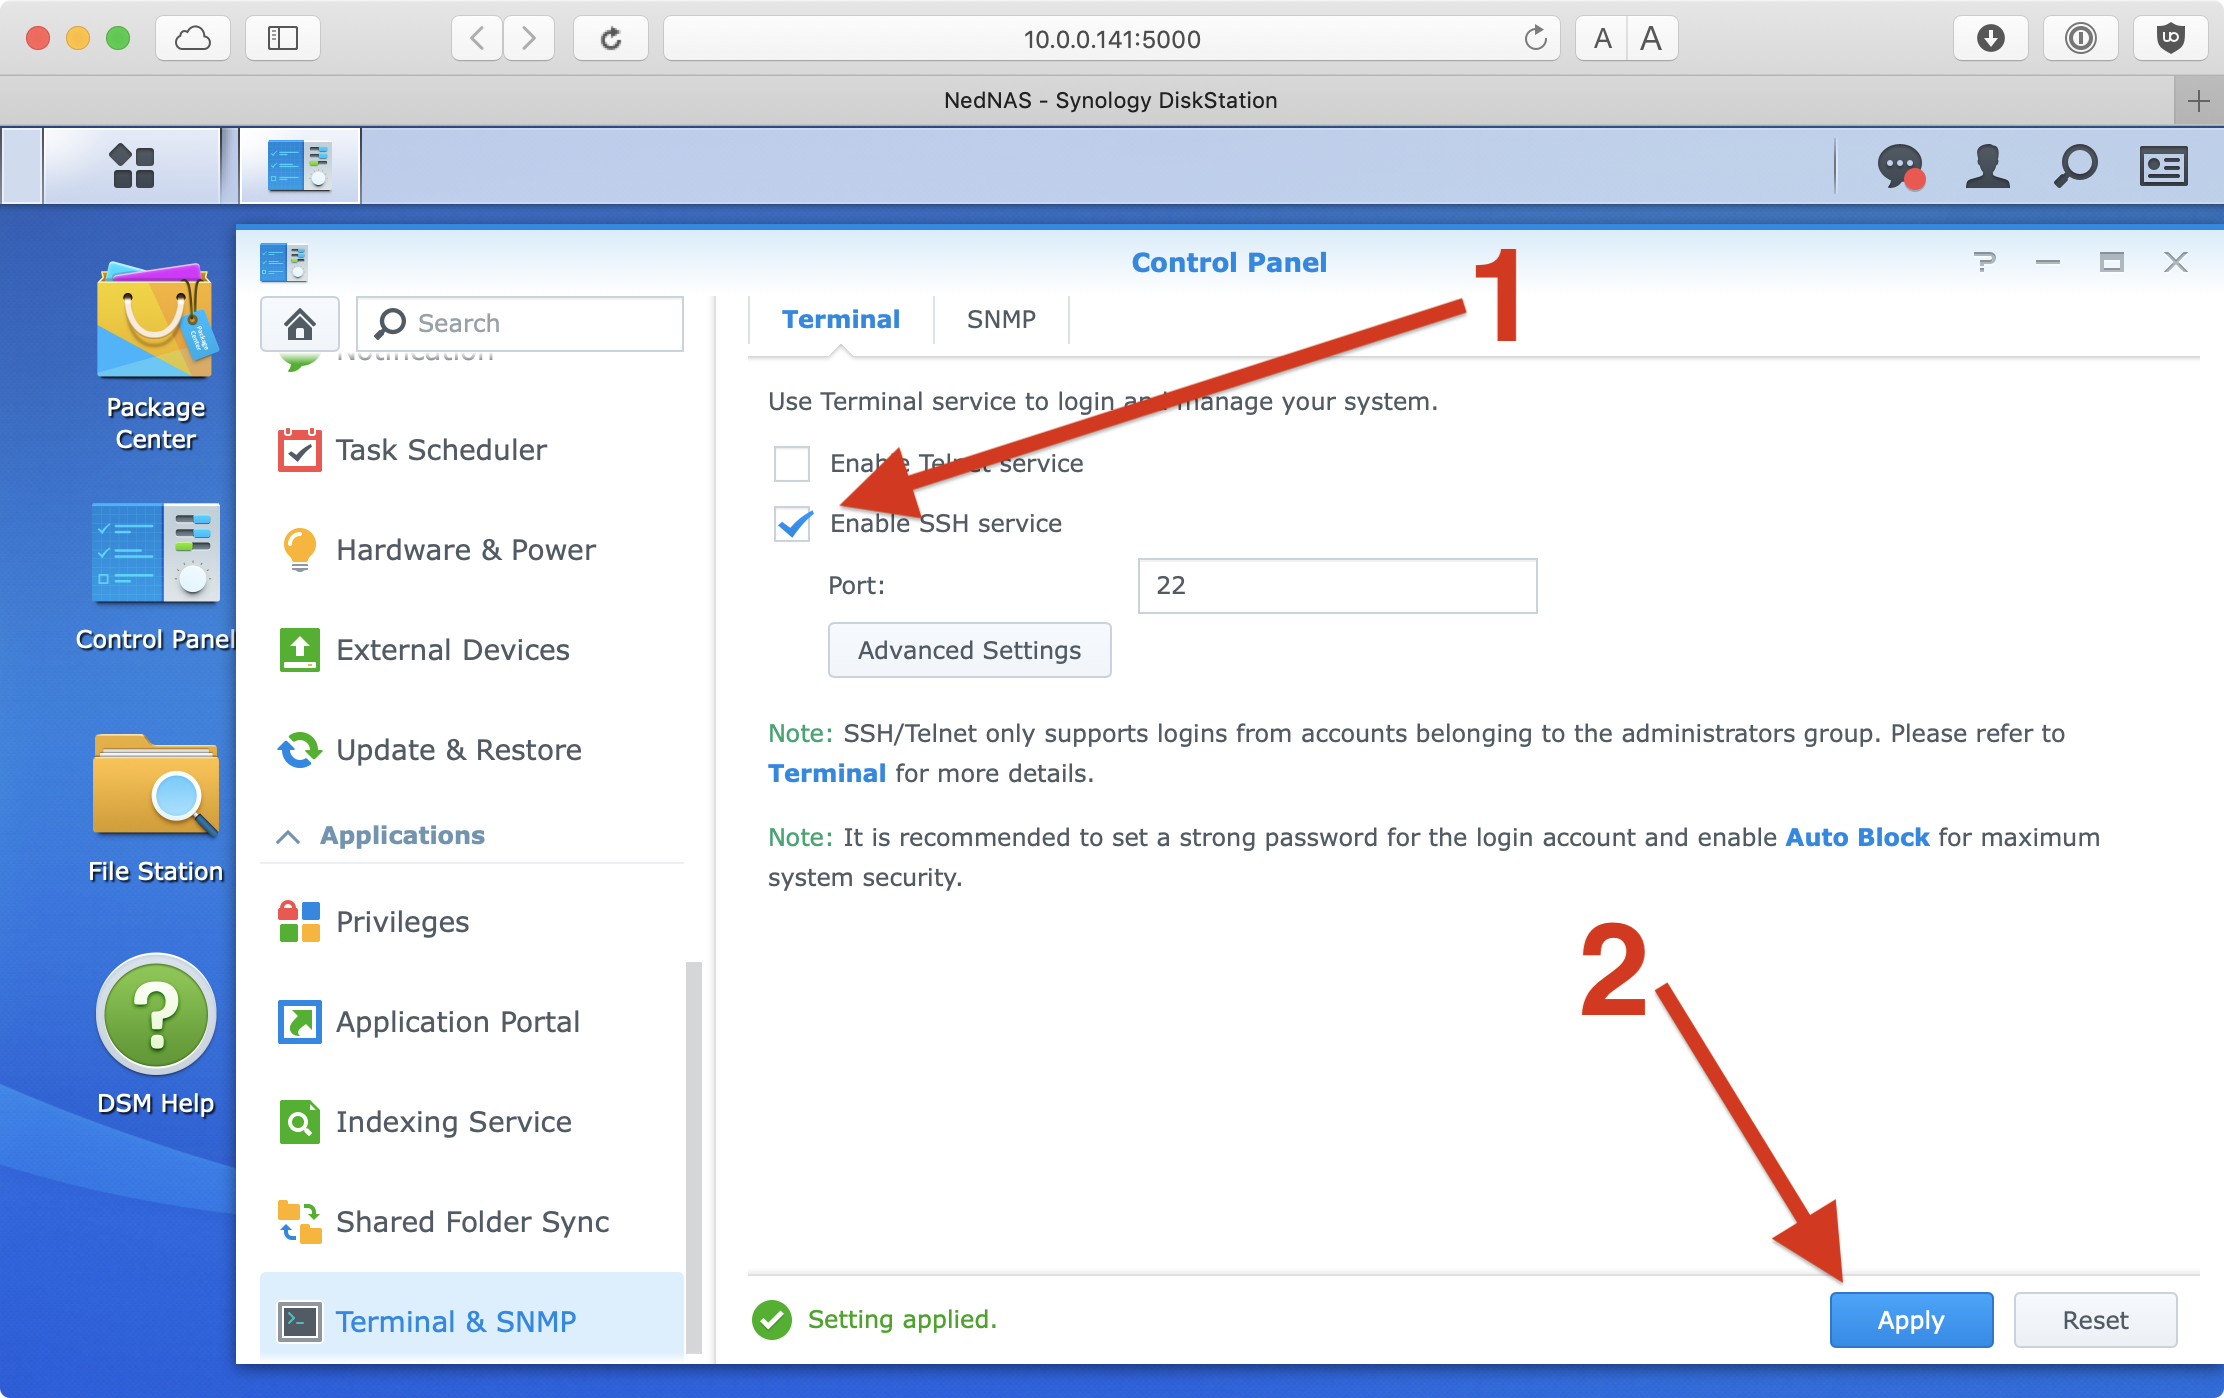
- Click to enable the option Enable SSH service
- Click Apply
You can now close your web browser.
3. Run the HDHomeRun NAS installer
Step 6
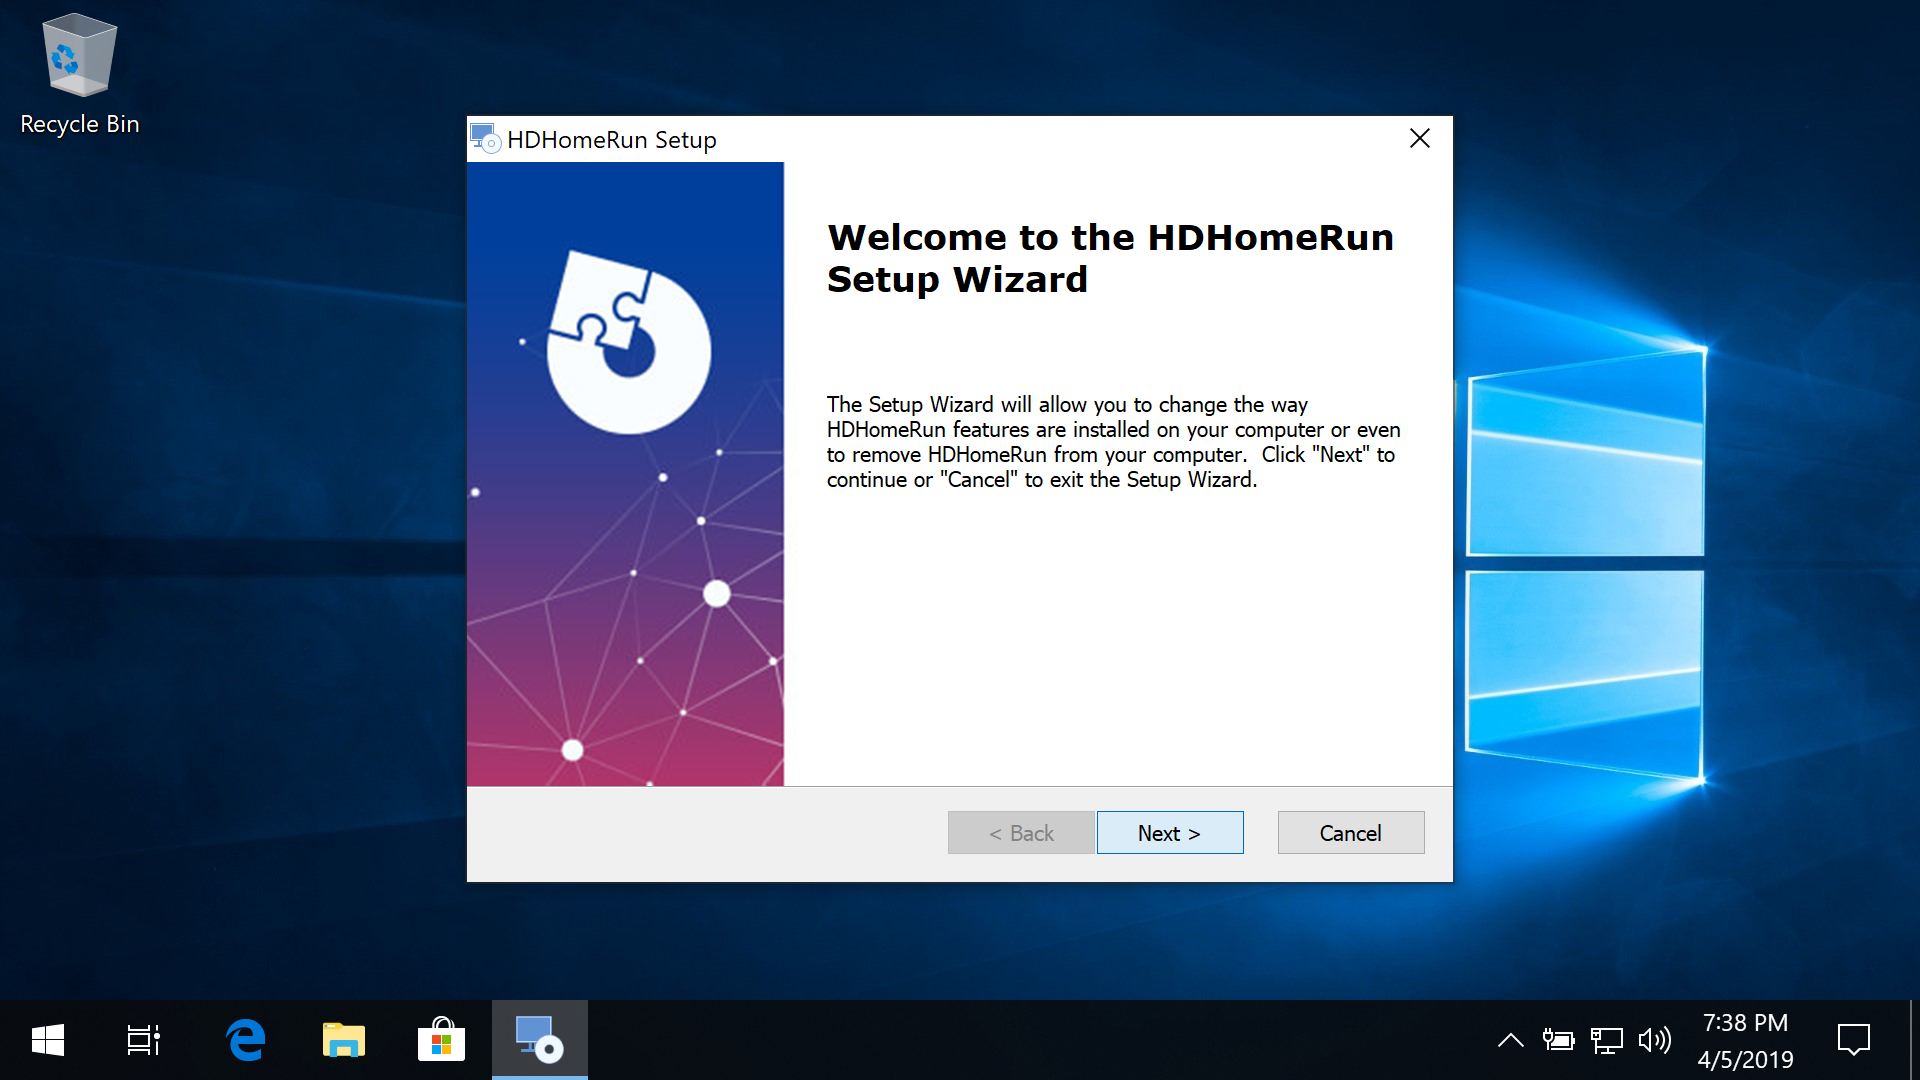
Download and install the latest HDHomeRun Windows Setup software (not the Windows Store App):
http://download.silicondust.com/hdhomerun/hdhomerun_windows.exe
Step 7

Launch the HDHomeRun NAS install program:
Run HDHomeRun Setup, go the the DVR tab, and click the NAS Install button.
Step 8
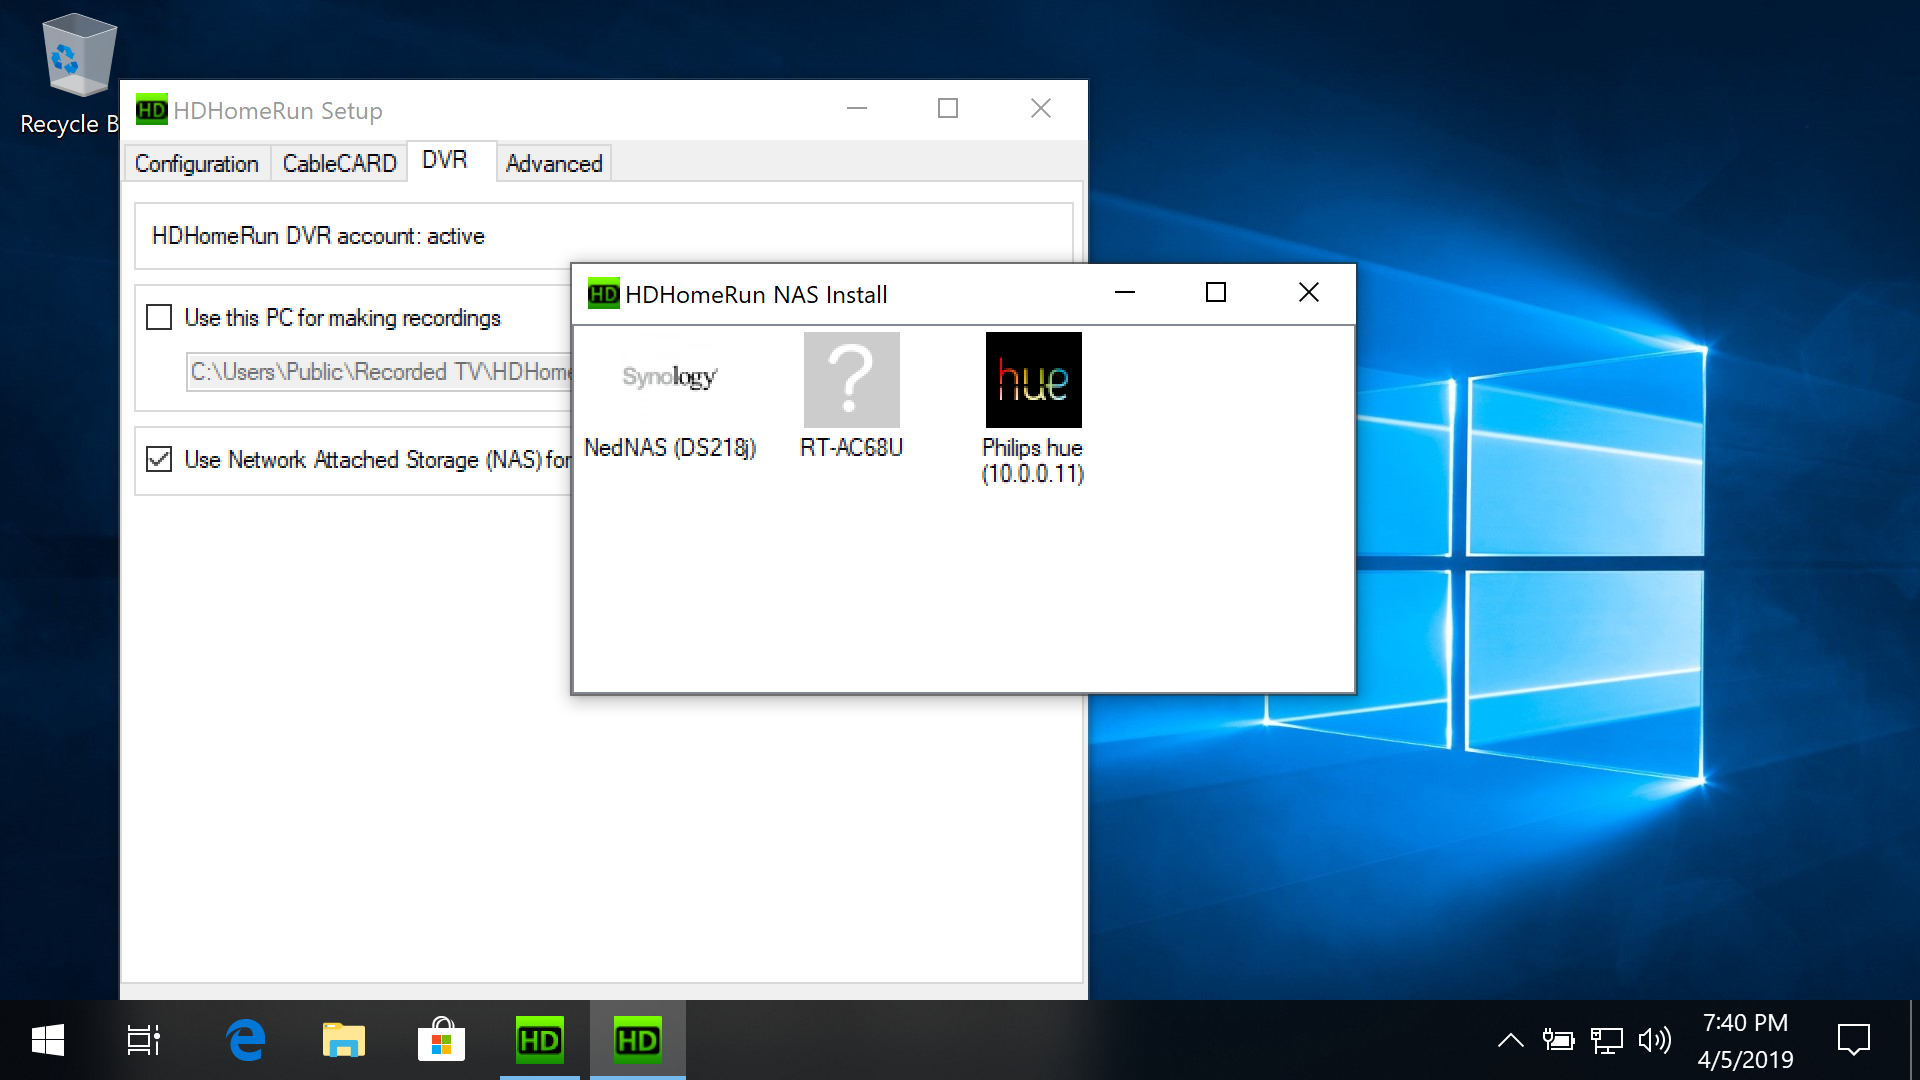
Select your NAS from detected devices:
The application will auto-detect possible NAS devices on your network using UPnP. Double click on your NAS device to continue.
Step 9
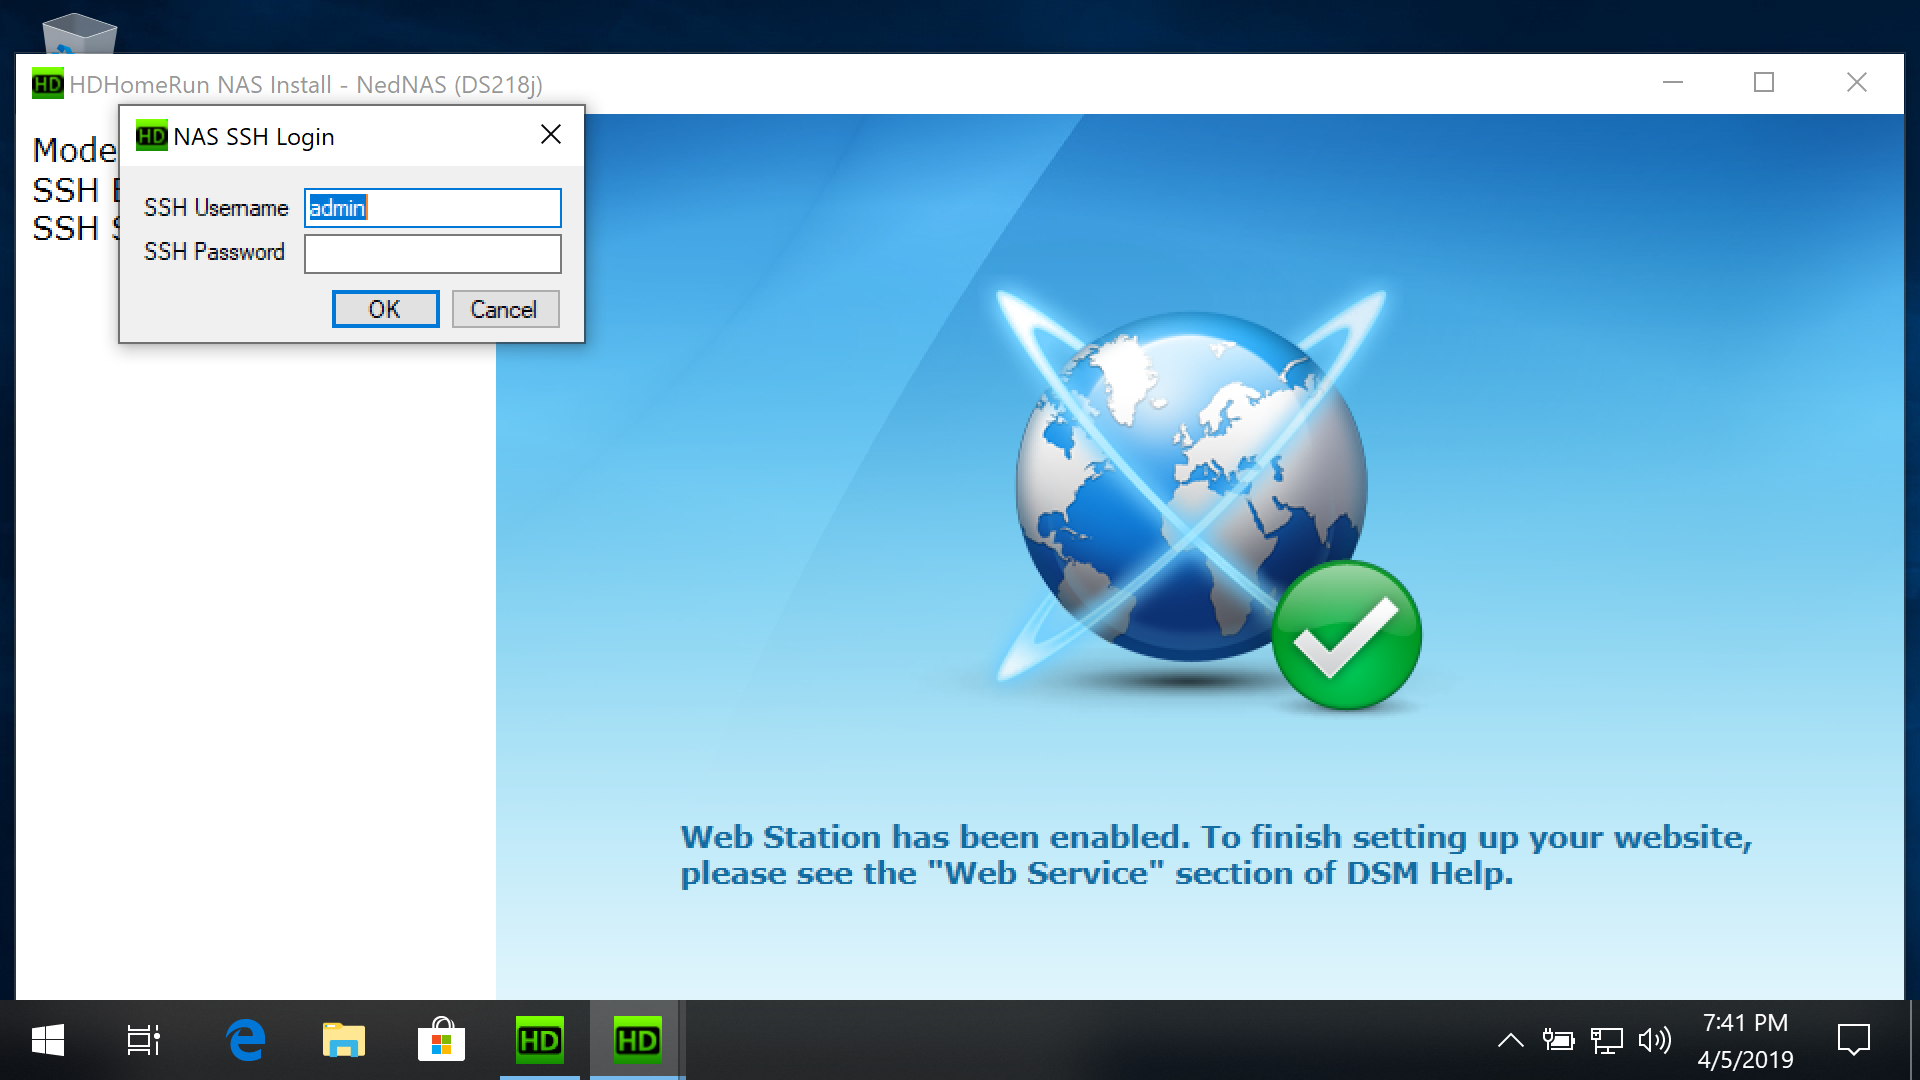
Enable SSH access and log in:
If SSH access is not enabled you will see the message “Please enable SSH access”.
The install program will auto-detect when SSH has been enabled and then ask you to enter your username and password.
For Synology NAS's, you will log in with the same username and password that you use for the web interface.
Security: For increased security, it would be a good idea to disable SSH on your NAS when not using the NAS install tool.
Step 10
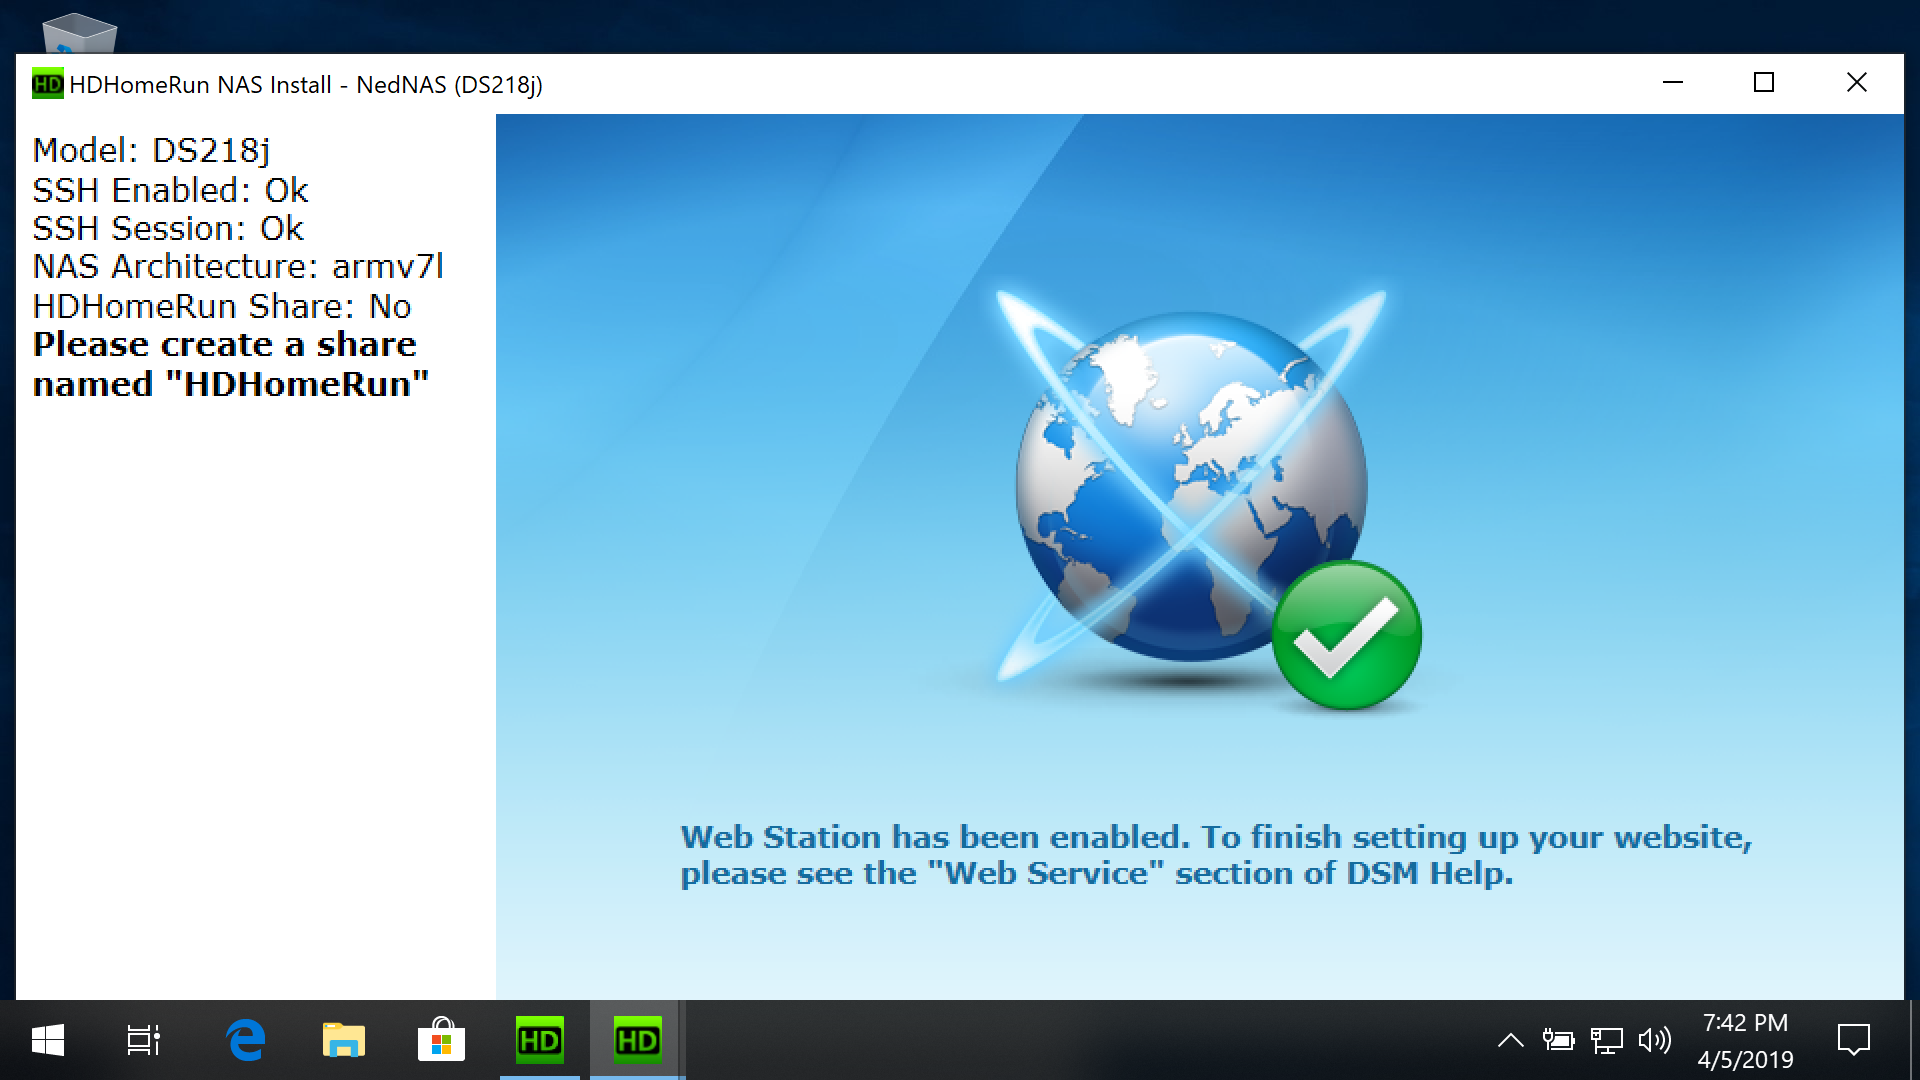
Create a share named “HDHomeRun”:
If there is not already a share named HDHomeRun you will see the message “Please create a share named HDHomeRun”.
The install program will auto-detect when the share has been created and continue to the next step.
Step 11

Success:
The NAS Install program should download and start the HDHomeRun RECORD engine and report SUCCESS.
Note: The current release of the NAS install program will not automatically start the DVR storage software if power is lost or the system reboots. You will need to run the NAS Install program again to restart the DVR storage software.
Manual installation
These instructions are provided for users who cannot run the Windows install tool.
COMING SOON
Next step: Using DVR in the HDHomeRun app
Once you finish setting up a DVR storage device, see our guide link below for instructions on using the DVR features in the HDHomeRun app.